One Section of Lights Not Working: Troubleshooting Your Electrical Issue
When you find a section of your string lights not illuminating, there could be various factors at play. The issue may stem from a single bulb malfunctioning or a cluster of lights affected by wiring problems. Before taking any action, it’s essential to understand the mechanics of the lights. Most string lights operate in a series circuit, which means if one bulb goes out, it can affect an entire section.
Addressing this problem requires a systematic approach. Begin by inspecting each bulb in the non-working section for any visible signs of damage or wear. It’s also worth checking the fuse as a potential culprit, especially in LED string lights where fuses play a critical role in the function of the lights. Ensuring that the strings are properly connected is another step that can easily resolve the issue without needing extensive repair.
Key Takeaways
- Tackling non-working light sections involves careful inspection of bulbs and wiring.
- The solution may be as simple as replacing a single bulb or checking connections.
- For LED lights, checking and replacing the fuse is an often overlooked but vital step.
Identifying the Issue
When one section of your Christmas lights fails to illuminate, it often points to a localised problem that can be rectified with careful troubleshooting.
Checking the Power Supply
Firstly, ensure the power supply is active. You should:
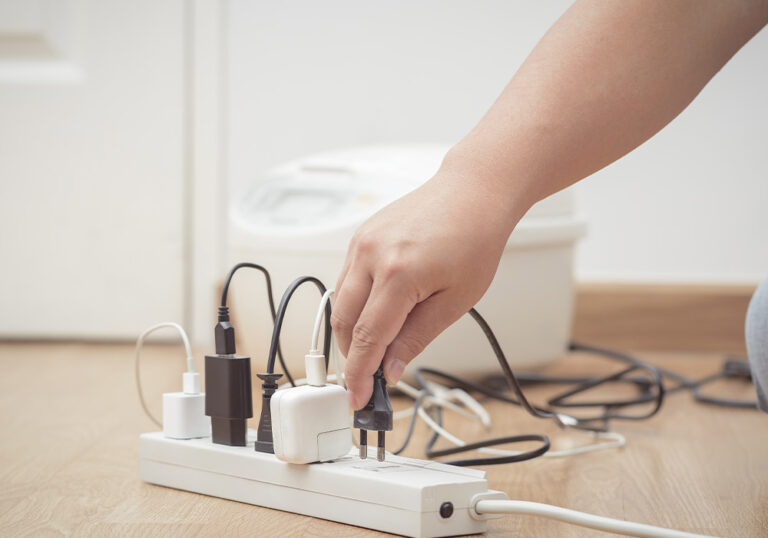
- Verify that the lights are plugged into a working socket.
- Inspect the fuses in the plug, as a blown fuse could be the culprit.
- If applicable, check the circuit breaker or consumer unit for any tripped switches and reset them if necessary.
Inspecting the Light String
Next, examine the light string attentively for any signs of damage. Actions to take include:
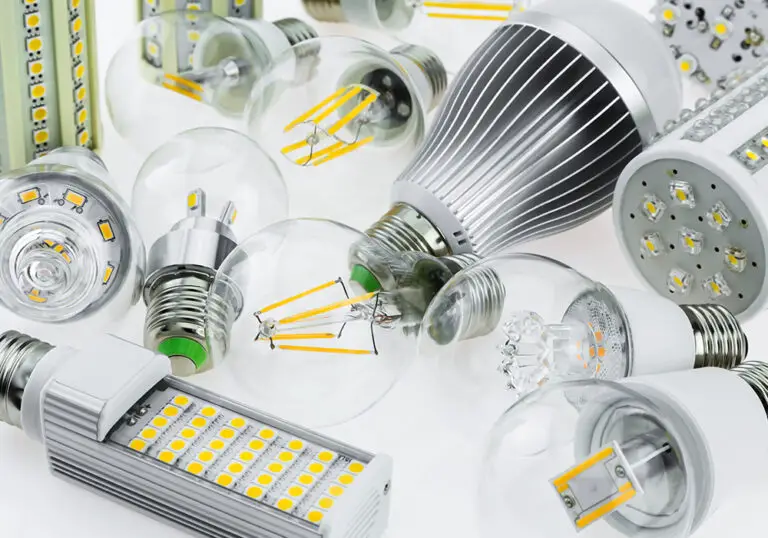
- Replace any blown bulbs. Often, lights are designed in sections, so a single malfunctioning bulb might cause a whole segment to go dark.
- Tighten any loose bulbs by gently pushing them into their sockets.
- Look for frayed wires or damage on the string, and cautiously repair minor damage with insulating tape, being careful to maintain the integrity of the wiring.
Troubleshooting Methods
When encountering a section of lights that isn’t working, a methodical approach can pinpoint the cause of the issue. The troubleshooting process often involves checking the electrical circuits and using diagnostic tools.
Resetting Circuit Breakers
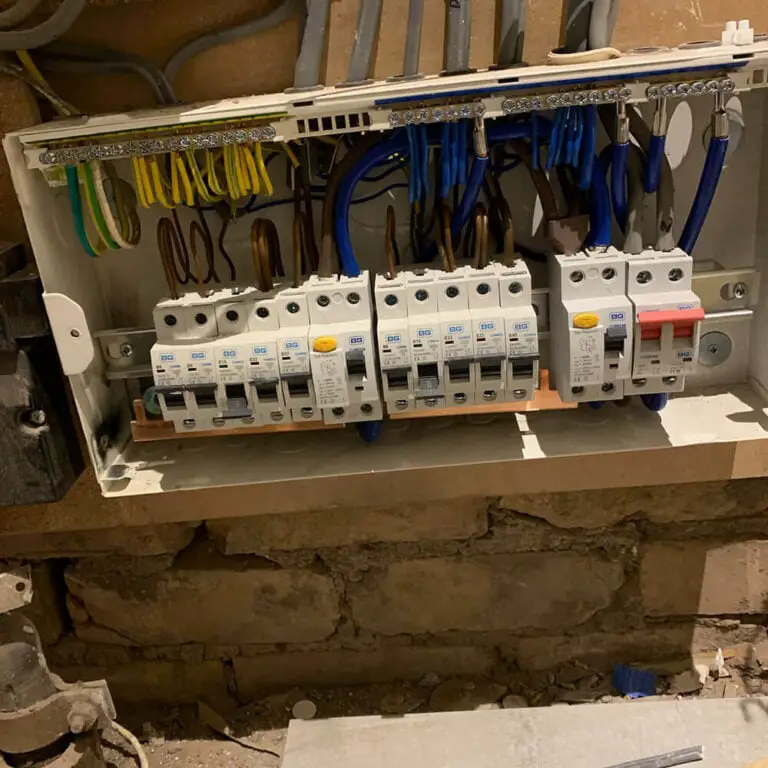
Your first step in troubleshooting should be to check the circuit breakers. Circuit breakers protect your home from electrical overload and short circuits. If a section of lights isn’t working, the relevant circuit breaker may have tripped. Follow these steps:
- Locate your consumer unit (fuse box).
- Identify the circuit breaker connected to the affected lights; look for a switch in the ‘off’ position or one that sits between ‘on’ and ‘off’.
- Reset the breaker by flipping it fully to the ‘off’ position and then back to ‘on’.
- Check if the lights are now working.
Testing with a Multimeter
If resetting the circuit breakers does not restore your lights, use a multimeter to measure voltage and continuity:
- Voltage Testing: Ensure the multimeter is set to measure voltage (V) suitable for your home electrical system.
- Place the multimeter’s probes on the light socket contacts.
- A reading that matches your mains voltage (around 230V in the UK) indicates that power reaches the socket.
- Continuity Testing: Switch the multimeter to the continuity setting (usually indicated by an icon resembling a sound wave or the word ‘CONT’).
- Remove the light bulb from the socket.
- Touch the probes to the bulb contacts—if the multimeter beeps or shows a reading, the bulb has continuity; if not, it’s likely faulty.
Always ensure the power is off before conducting continuity tests on sockets or light fittings to prevent electric shocks.
Repair Solutions
When one section of your Christmas lights fails to illuminate, the issue often lies with faulty bulbs or loose connections. Addressing these specific points is vital to restoring the full functionality of your lights.
Replacing Faulty Bulbs
- Identify the Culprit: Carefully examine each bulb in the non-working section for signs of damage or discolouration. This may indicate a burnt-out bulb.
- Perform a Replacement: Once you’ve found a suspect bulb, unplug the lights and replace it with a new one. Bulbs can usually be unscrewed or pulled out from their sockets.
Fixing Loose Connections
- Check for Snug Fit: Ensure that each bulb is firmly seated in its socket. A bulb that’s not properly installed can disrupt the circuit.
- Secure Socket Connections: If the bulb seems undamaged but the connection is intermittent, gently wiggle the bulb in its socket to re-establish a solid connection or use a small screwdriver to adjust the socket’s contact point if accessible.