Solutions to LED Light Turning On then Off Immediately
Potential solutions for an LED light turning on and then off immediately include performing a hard reset of the bulb, trying the bulb in a different socket, resetting the power from the circuit breaker box, and finally, performing a software reset of the bulb. For LED strip lights, solutions include power cycling the lights, trying the lights in a different socket, and lastly resetting the lights. If the bulbs continue to fail after following the relevant troubleshooting steps, the issue likely lies with the fixture; your final option in this case is to have the fixture repaired or replaced.
Solutions for LED Light Turning On then Off Immediately
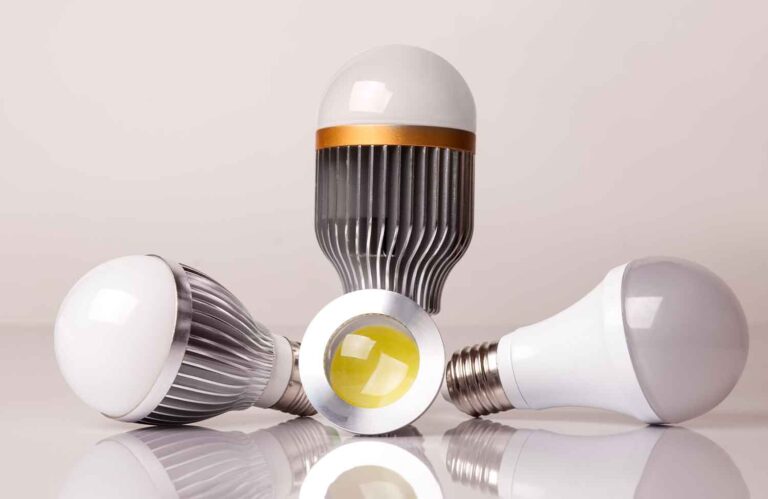
There are a few potential reasons why your LED bulbs are turning on then off immediately; the issue could lie with the bulb, the bulb’s power input, or the power supply to the room that the bulb is in. Follow through these troubleshooting steps to cover each potential problem with regular LED lighting fixtures.
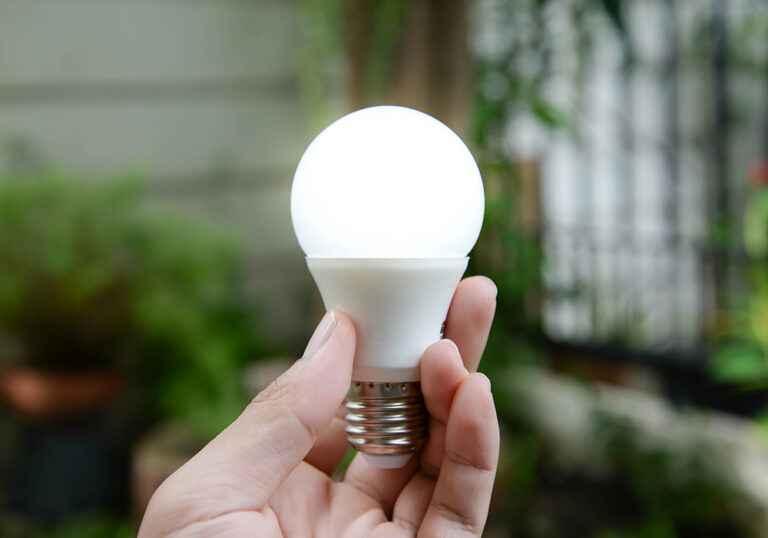
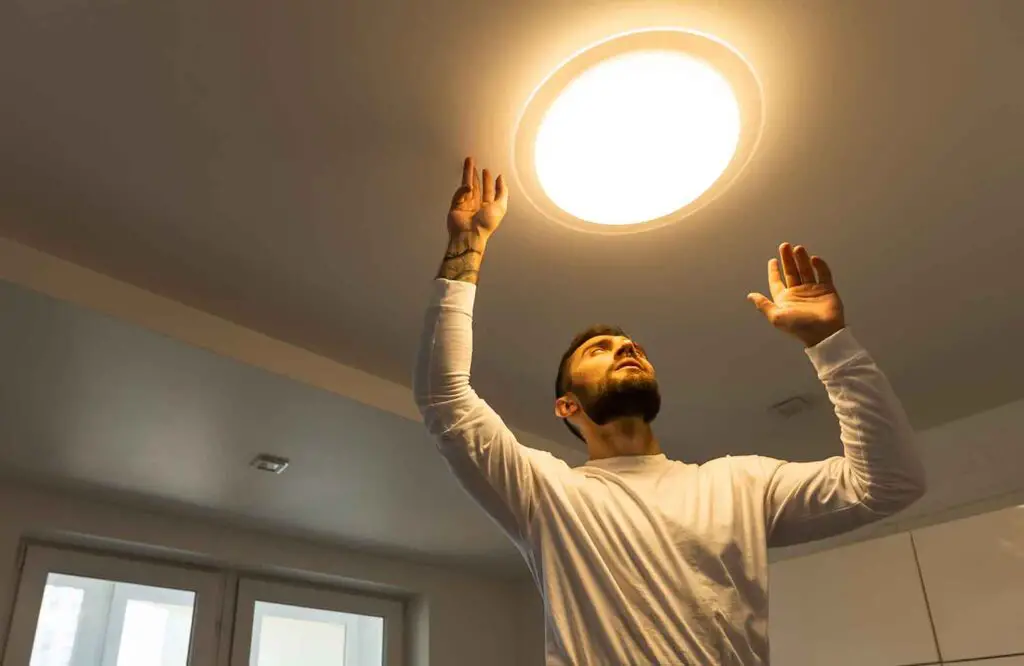
Solution #1: Power Reset LED Bulb
The first step is to perform a hard power reset on the LED bulb. Doing so will discharge the bulb, which should solve the issue if the bulb is at fault. For this fix, you may need to acquire a chair or step ladder to reach the fixture.
Solution:
- Unscrew the LED bulb from its socket.
- Wait for 5 minutes.
- After 5 minutes, replace the bulb. Ensure that the bulb is screwed in tightly so it’s snug in the socket.
- Switch the light on and wait for a few minutes to see if it turns off again. If the bulb remains on, the issue is fixed; if not, continue to the next solution.
Solution #2: Try LED Bulb in Different Socket
If the previous solution fails, this is an indication that the problem lies with the socket or fixture housing the bulb. Trying the bulb in a different socket will help to determine whether the bulb or fixture is at fault. Again, for this solution, you may need to use a chair or step ladder to reach the fixture.
Solution:
- Find an alternative socket that the LED bulb will fit into. Ideally, this should be in a different room than the original fixture; if there are power supply issues to the whole room, the bulb will likely fail again.
- Place the bulb into the alternative light socket by rotating it clockwise. Ensure that the bulb is tightly fitted into the socket.
- Turn on the light and wait for a few minutes. If the bulb remains on, the original fixture is likely at fault; if it turns off again, continue to the next troubleshooting step.
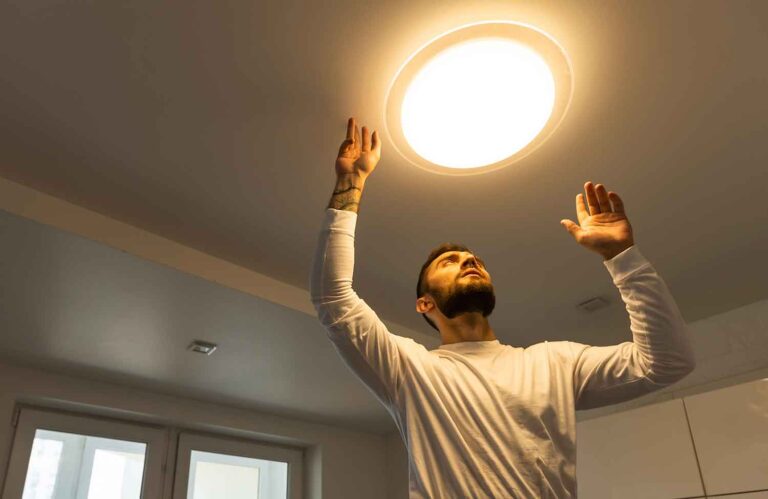
Solution #3: Restart Power to Room Via Circuit Breaker
The issue may lie beyond the bulb or fixture, instead being a fault with the power supply to the whole room. This is likely the case if multiple LED lights are turning on then off immediately in one part of your property. To ascertain whether this is the case, you’ll have to reset the power at your main circuit breaker.
Solution:
- Look at the circuit breaker box for your property’s electrical supply. If you’re unsure where this is, breaker boxes are typically located in low-traffic areas; it could be in a garage, utility cupboard, or a hallway or laundry room.
- Open the panel to the circuit breaker box. Look over the switches to find the switch controlling the room where the LED lights are failing.
- Flip the relevant breaker switch to the ‘off’ position. This will cut off all power to the electrical outlets in the room, including the lights.
- Leave the breaker switch in the ‘off’ position for about 5 minutes.
- Flip the breaker switch to return it to the ‘on’ position to resume the power supply to the room.
- Test the light again by turning it on. If the bulb remains on, the issue is fixed; if it turns off again, continue to the next solution.
Solution #4: Reset LED Bulb
If the previous solutions fail, you can perform a final check on the LED bulb to see if it’s at fault. This involves carrying out a software reset on the bulb; resetting the bulb in this way will flush its software, potentially fixing the issue.
Solution:
- Check that the bulb is firmly screwed into the socket.
- Use the light switch to turn on the light. Leave the light on for 3 seconds before turning it off again.
- Repeat the previous step 3 times in a row, turning the light on for 3 seconds, then off.
- Switching the light back on, the bulb should then reset; it will indicate a reset by slowly pulsating.
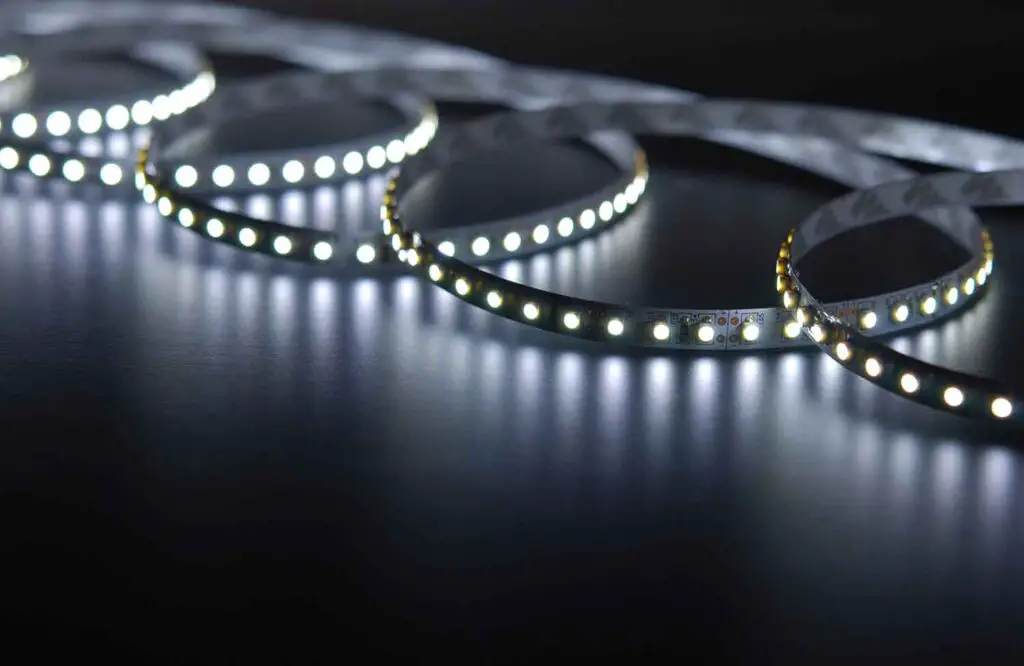
Solutions for LED Strip Light Turning On then Off Immediately
You may be experiencing issues with an LED strip light rather than a regular lighting fixture. Strip light fixtures work in a slightly different way to standard fixtures; they therefore have their own set of troubleshooting procedures to follow when they fail. We’ve provided some of these potential solutions for LED strip lights that are turning on and then off immediately.
Solution #1: Power Cycle LED Strip Lights
The first troubleshooting step is to power cycle the LED strip light. This will discharge all electricity from the fixture, which may be the cause behind the lighting’s failure. Follow the steps below to power cycle your LED strip light.
Solution:
- Find the power brick for the LED strip lights by looking along the fixture’s power cable.
- Turn off the power brick using the on/off button.
- Unplug the brick’s power adapter from its power source.
- Wait for around 5 minutes to allow the power brick and LEDs to discharge. It’s important to wait for the full 5 minutes for the power cycle to complete.
- Plug the brick’s power adapter back into the power source.
- Use the on/off button to turn the strip lights back on.
- If the strip lights stay on, the issue is resolved; if not, continue to the next solution.
Solution #2: Try to Use Strip Lights with Alternative Power Source
If the strip lights are still failing after the previous solution, the next step is to check their power source. The issue may lie with the strip light’s power supply rather than the fixture itself. You can perform a simple troubleshooting test for this issue by plugging the strip lights into an alternative power socket.
Solution:
- Unplug the strip lights from their current wall socket.
- Find an alternative power socket in your property to reconnect the strip lights. Ideally, this should be in a different room to the original socket. As an additional note, avoid plugging the strip lights into an extension cord; these fixtures are unsafe for use with extension cords as they typically consume a lot of power.
- Switch the lights on and assess whether they’re still malfunctioning. If this method doesn’t fix the issue, continue to the next solution.
Solution #3: Reset LED Strip Lights
After the previous solutions fail, the final troubleshooting step is to reset the LED strip lights. This method can potentially fix any electrical glitches affecting the lights by flushing the software of the fixture. As a note, it’s best practice to perform a reset every so often regardless of whether your lights are working properly.
Solution:
- Look for the reset button on the power brick of the strip lights. This button is small and usually found on the side of the power brick.
- Turn off the strip lights before unplugging their power adapter.
- Press the reset button and hold it in.
- Plug the power adapter of the strip lights back into the brick.
- Release the reset button.
- Turn the LED strip lights back on and check whether the issue persists.
What to Do if LED Lights Continue to Turn On then Off Immediately
If your LED lights continue to fail after following the guidance in this article, your final solution is to contact the manufacturer or supplier. All of the previous troubleshooting steps rule out the possibility that the issue lies on your end. This indicates a fault with the fixture itself, in which case the manufacturer must address the issue.
First, check whether the warranty for your strip lights is still valid. You’ll need to provide proof of the purchase date for the fixture, such as a receipt. If your product is within the warranty period, the manufacturer or supplier should replace or repair your fixture for free.
If your product isn’t within warranty, or you don’t have proof of the purchase date, still contact the supplier. They should be able to provide you with details on specialist electricians who can repair your LED fixture.