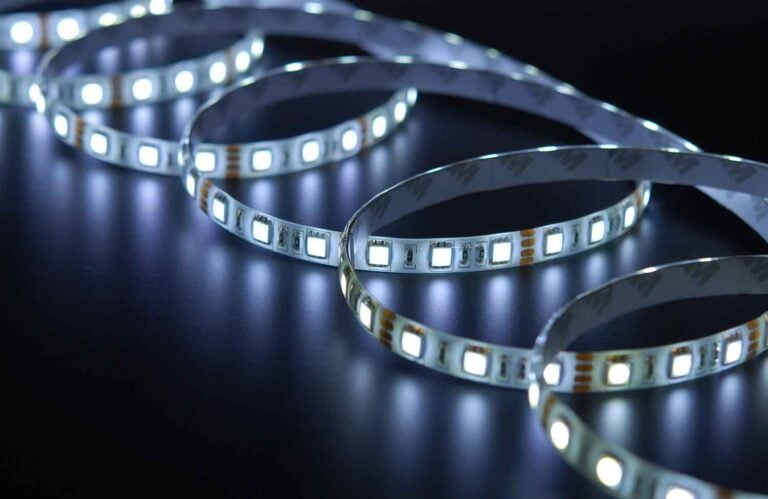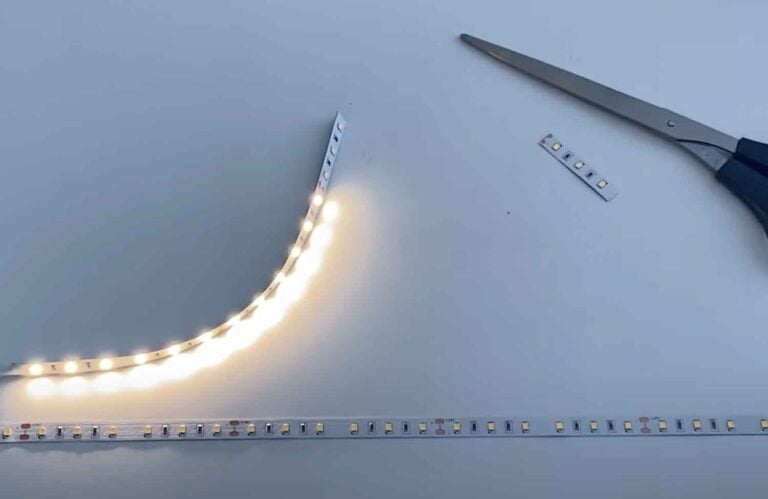
How to Remove LED Strip Lights From Wall and Reuse
LED strip lights are versatile fixtures that enable you to add ambience to a space using minimal effort. They’re extremely easy to install, as these fixtures typically come with their own 3M adhesive. Then, after installing the strip lights, there may come a time when you need to take the fixture down. Whether you’re redecorating, moving, or tending to strip lights that keep falling, these scenarios all raise one question; is it possible to remove LED strip lights and reuse them?
It’s a simple process to remove LED strip lights from a wall if they’re stuck using their standard 3M adhesive. All you need to do is apply heat to loosen the adhesive, before gently prying up the strip lights with a flat tool. Even if the wall is painted or wallpapered, this method should cause minimal to no damage to the underlying surface. You can then restick the strip lights using fresh adhesive, or a suitable alternative like mounting putty or cable ties.
How Do LED Strip Lights Stick to a Wall?
LED strip lights stick to a wall using a substance called 3M adhesive. Unless you used an alternative, 3M is the standard adhesive that comes with the majority of LED strip light products.
3M is a durable and adaptable substance made from a high-performance type of acrylic. This acrylic is ideal for adhering strip lights as it possesses viscoelastic properties; in other words, it behaves like both an elastic solid and viscous liquid simultaneously. These properties allow 3M to stick to a range of surfaces, giving it the ability to glide across surface irregularities. The adhesive then forms a strong bond between the wall and the LED strip lights.
With that said, 3M is not entirely faultless as an adhesive. Despite its adaptability, 3M adhesive won’t suit some surfaces, such as those that are glossy or oily. It doesn’t hold up well against humidity and moisture and also tends to lose its stickiness over time. These flaws often tempt people to opt for a different type of adhesive to stick their LED lights to the wall; examples include double-sided or foam tape, hot glue, superglue or glue dots, and Gorilla tape.
Although these alternatives can provide better results initially, they’re more likely to damage the wall upon the removal of the LED lights. A benefit of 3M is that you can remove your LED strip lights without damaging the wall; this is provided that you follow the proper removal method as per our guidance later in the article.
Will Removing LED Strip Lights Damage the Wall?
Removing LED strip lights may damage the wall depending on the type of surface to which it’s adhered. It’s unlikely that removing LED strip lights from tiled, plastic, or wooden surfaces will cause any damage. However, painted, wallpapered, or bare drywall is more vulnerable to damage upon the removal of LED strip lights.
On tiled, plastic, or wooden surfaces: It should be relatively easy to remove LED strip lights from tiled, plastic, and wooden surfaces without causing any damage. At most, it may be necessary to clean off adhesive residue where the strip was attached to the wall.
On painted, wallpapered, or bare drywall: It’s more likely that removing LED strip lights from painted, wallpapered, or bare walls will cause some damage. The coverings on these surfaces are more prone to damage as they’re made up of multiple fragile layers. Damage is even more likely if the strips were stuck using an adhesive other than 3M, like tape or glue.
How to Remove LED Strip Lights Safely
Follow these steps to remove your LED strip lights safely with minimal to no damage to the underlying surface.
1. Disconnect LED Strip Lights from Power Source
When working with any type of electrical appliance or device, the first step should always be disconnecting its power source. This is essential to avoid any electric shocks during the job.
Although LED strip lights typically run on a low voltage, they connect to a 120V power supply; this is enough voltage to cause an accidental shock if the right precautions are not taken. So, switch off and disconnect your LED strip lights from their power source before moving on to the next step.
2. Unstick Adhesive Using Heat
Once your LED strip lights are disconnected from their power source, you can begin the removal process. It may be tempting to simply strip the LEDs straight off the wall; however, this method is what will leave you with damage if the surface is painted or wallpapered. Instead, you must first heat the adhesive to loosen it from the surface.
Heating the adhesive will break down its sticky bond to the wall, softening it and thus easing the removal of the lights. All you need to do this is a heat gun or hair dryer. Using the tool on a low to medium setting, direct the heat along the strip lights to melt the adhesive. Take care not to overheat the lights as this too could cause damage to the wall or the LEDs themselves.
3. Remove LED Strip Lights
Following the previous step, it should only take a mild amount of heat before the adhesive is sufficiently loose. You can then begin the careful removal process of the LED strip lights from the wall.
Look along the LED strip lights and locate where the end of the strip is; it’s better to start peeling from this end rather than the middle to minimise the risk of damage to the wall. Using a flat rigid object, like a butter knife or bank card, slide it under the end of the strip. Lift up the end of the strip with your flat object to gently peel it away from the wall. Continue in this manner to peel the entire strip; be patient and work slowly, as working too quickly will likely cause damage to the paint or wallpaper.
You may find that the adhesive rehardens while you’re working on the removal of the strip. If this happens, enlist the help of another person to keep the strip heated with the hairdryer or heat gun. They should keep the heat on the strip while you’re working to ensure the adhesive remains soft and malleable throughout the whole process.
4. Clean Off Adhesive Residue from Wall
After carrying out the previous steps, you should now have successfully removed the strip lights. The removal process will likely leave traces of adhesive residue on the wall once the job is complete.
You should be able to remove this residue by rubbing it off with your thumb. As a tip, it’s a good idea to use gloves for this step to avoid leaving handprints on the wall. If the residue is more stubborn, you may need to use a damp sponge or cloth; just make sure that your paint or wallpaper is washable and will withstand the abrasion. It may even be necessary to use a dab of WD-40 on the cloth to remove particularly stubborn adhesive stains. Again, just be mindful that this could cause damage to the wall.
5. Restick, Store, or Dispose of the Removed LED Strip Lights
Once you’re finished with the removal process, you can now do with the LED strip lights as you please. You may wish to restick the strip lights in a different location or pack them up for storage or removal. Alternatively, if the LED strip lights are defunct, you must now dispose of them appropriately. We have provided guidance for each of these scenarios in the remainder of this article.
How to Restick LED Strip Lights
After removing your LED strip lights from the wall, you now have the option of resticking them. You can do this either in the same place or a new location, using adhesive, mounting putty, glue, or cable ties.
How to Restick LED Strip Lights with Adhesive
3M adhesive is the best option if you expect that you’ll remove the lights again in the future.
Follow these steps to restick LED strip lights with adhesive:
- Clean off any dust, grease, or old adhesive residue from the back of your LED strip light.
- Add a thin layer of adhesive to a small section of the LED strip light.
- Wait 10-15 seconds to allow the adhesive to partially set.
- Stick the first section of the LED strip light with the adhesive to the wall.
- Working in small sections at a time, continue with this method to stick the entire strip light to the wall.
How to Restick LED Strip Lights with Mounting Putty
As an alternative to adhesive, you could restick your LED strip lights with mounting putty. Take note that, although it offers a more durable bond, mounting putty will be harder to remove without causing damage.
Follow these steps to restick LED strip lights with mounting putty:
- Clean off any dust, grease, or old adhesive residue from the back of your LED strip light.
- Form the mounting putty into the shape of the LED strip light’s band.
- Stick the mounting putty carefully to the back of the LED strip light.
- Stick the LED strip light into place.
How to Restick LED Strip Lights with Glue
You can use glue to restick LED strip lights depending on the specific type of glue. It isn’t advisable to use super glue to restick LED strip lights; this substance involves a chemical reaction that can leave the underlying surface brittle and more vulnerable to damage. On the other hand, hot glue is generally safe to use when resticking LED strip lights.
Follow these steps to restick LED strip lights with hot glue:
- Clean off any dust, grease, or old adhesive residue from the back of your LED strip light.
- Use a glue gun to apply a strip of glue along one small section of the LED strip light. Take care to regulate the temperature of the glue; if it’s too hot, it can melt and damage the components in the strip light.
- Stick the first glued section of the strip light to the wall.
- Working in small sections, continue with this method to stick the rest of the strip light.
How to Restick LED Strip Lights with Cable Ties
Cable ties offer an ideal alternative to restick LED strip lights while negating the risk of them detaching after installation. You’ll need appropriate receptacles to which you can attach the cable ties; we also recommend using transparent cable ties, as opaque colours may impact the output of the light.
How to Prevent LED Strip Lights from Falling Down
It may be the case that you want to restick the LED strip lights in the same place after their removal; the issue that prompted the removal, perhaps, was that the strip lights kept falling down or detaching from the wall. If this is your scenario, there are some steps to take before resticking the lights to ensure they stay in place.
Follow these tips to prevent your LED strip lights from falling or detaching:
- Only attempt to stick LED strip lights to flat surfaces, as adhesives are less effective on surfaces that are uneven.
- Ensure that the surface is free of dust and grease before attempting to stick the lights.
- Also ensure that the surface is completely dry before sticking the lights.
- Take note that ambient temperatures and conditions will have an effect on the LED strip light’s adhesive. Warmer temperatures will cause the adhesive to lose stickiness, as will moisture and humidity. Manage these conditions in the area around the strip lights to prevent them from detaching.
- Instead of an adhesive, consider using cable ties or another similar form of installation to restick the LED strip lights. This will make it possible to keep your strip lights up in areas where heat and humidity are typically high.