How to Restick LED Light Strips: Expert Tips for Quick Fixes
LED light strips have gained immense popularity in recent years due to their versatility and ease of use. They can transform ordinary spaces into aesthetically pleasing and vibrant environments. However, a common issue that many users face is the LED light strips losing their adhesion and falling off surfaces. Luckily, there’s no need to worry as resticking your LED light strips is a relatively simple process that can be achieved in a few steps.
Knowing how to restick LED light strips not only saves you from the frustration of loose and dangling strips but also prolongs their lifespan, assuring you of an uninterrupted and enjoyable lighting experience. This article will guide you through the process of resticking your LED light strips safely and effectively while avoiding common pitfalls.
Key Takeaways
- Identify the reasons behind your LED light strips losing their adhesion
- Gather the necessary materials and prepare your working area
- Follow simple steps to restick the LED light strips and maintain their durability
Understanding LED Light Strips
LED light strips are versatile and energy-efficient lighting solutions that can be used for various applications, such as accent lighting, task lighting, and even decorative purposes. These strips consist of small LED chips mounted on a flexible circuit board, which can be cut to the desired length. They come in various colours, brightness levels, and lengths, allowing you to choose the perfect strip for your specific needs.
Before you attempt to restick your LED light strips, it’s essential to understand their basic components and common features. The key parts of an LED light strip include:
- LED chips: These tiny, energy-efficient diodes produce the light and are available in different sizes, colours, and brightness levels.
- Flexible circuit board: The LEDs are attached to this thin, bendable board, which allows the strip to be shaped around various surfaces.
- Power supply: An external power source is required to provide the necessary voltage and current to the LED strip.
LED light strips often come with adhesive backing, making them easy to install. However, over time, this adhesive may lose its effectiveness, causing the strip to become detached from your desired surface. This could be due to various factors, such as exposure to heat, humidity, or simply the adhesive wearing out.
To ensure your LED light strips remain in place, it’s essential to clean and prepare the surface before reapplying them. You’ll want to remove any dust, dirt, or grease from the surface, as these can all affect the adhesive’s ability to bond properly. Once the area is clean and dry, you can proceed with the process of resticking your LED light strips.
Please be aware of any safety concerns while working with LED light strips. It is crucial to follow the manufacturer’s instructions and to ensure that the strip is unpowered when you are handling it. Proper precautions will help you avoid any potential hazards or damage to your LED light strip.
Causes of LED Light Strips Losing Their Stickiness
LED light strips are prone to losing their stickiness over time. There are a few factors that contribute to this issue, and being aware of them can help you to maintain the longevity of your LED strips.
One key factor is heat. LED strips generate heat when they are illuminated, especially if they are left on for extended periods. This, in turn, can cause the adhesive on the strips to soften and weaken. In some cases, it can even cause the adhesive to melt, leading to a loss of stickiness that makes the LED strip fall off the surface it’s attached to.
Another cause is dust and dirt accumulation on the LED strip or the surface you are mounting it on. This is particularly relevant for strips mounted in areas prone to dust or grease, such as kitchens, workshops, or near vents. A dirty or dusty surface can prevent the adhesive from bonding effectively with the surface, causing the strip to lose its stickiness.
Furthermore, the quality of the adhesive also plays a role in the stickiness of LED strips. Not all adhesives are created equal, and some may be more prone to degradation over time than others. Cheaper LED strips may use lower-quality adhesives that lose their stickiness more quickly or don’t bond as effectively in the first place.
Lastly, improper installation can also contribute to LED strips losing their stickiness. If the strip is not pressed firmly onto a clean, dry surface when installed, or if it’s stretched or twisted too much during installation, this can cause the adhesive to come away from the surface as well as strain the strip itself. This can lead to the strip losing its stickiness and potentially becoming damaged.
In summary, there are multiple factors that contribute to LED light strips losing their stickiness, including heat, dirt and dust, adhesive quality, and improper installation. Being aware of these factors can help you to maintain the stickiness of your LED light strips and ensure they stay in place for as long as possible.
Safety Precautions Before Resticking
Before attempting to restick your LED light strips, it’s vital to take some essential safety precautions. Doing so helps prevent potential accidents and ensures that your LED lights will function appropriately after the resticking process.
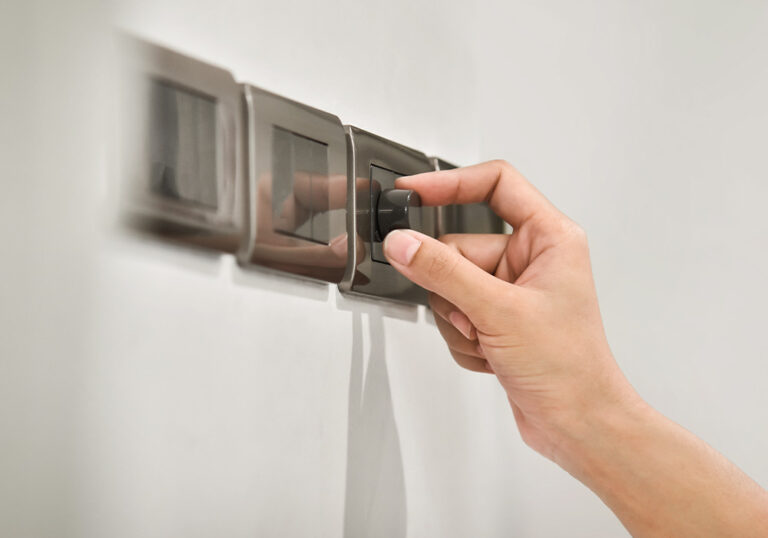
Turn Off the Power: Always begin by switching off the power to the LED light strips. This not only prevents unwanted electrical mishaps but also ensures your safety while handling the strips.
Avoid Overheating: LED light strips may overheat if you leave them on for prolonged periods. Make sure the strips have had enough time to cool down before starting the resticking process.
Check for Damage: Inspect the LED light strip carefully for any signs of damage, such as cracked or broken components, exposed wiring or frayed connections. If you notice any of these issues, it’s advisable to consult a professional before attempting to restick the strip.
Prepare a Clean Surface: Ensure that the surface where you plan to restick the LED light strip is clean and free of debris. Dirt, dust, and grease can impact the adhesive’s effectiveness, resulting in a weak bond.
Handle with Care: LED light strips can be delicate, so it’s essential to handle them with care to avoid damaging the components or causing the strip to break.
Following these safety precautions will help you restick your LED light strips successfully while remaining injury-free. Remember to take your time and pay attention to detail as you work through the process.
Materials Required for Resticking LED Light Strips
Select Quality Adhesive Tapes
When resticking your LED light strips, it’s crucial to use high-quality adhesive tapes. Choose double-sided tapes made explicitly for LED strips, as these tend to work best on various surfaces, such as wood, plastic, and metal. Certain brands offer specially designed adhesive tapes for LED light strips, which provide strong bonding and durability. Remember to clean and dry the surface where the LED strip will be attached so that the adhesive can stick properly.
LED Strip Holders
LED strip holders are another excellent option for resticking your LED light strips. These holders are designed to fit different strip sizes snugly, keeping them in place without the need for additional adhesive. Some LED strip holders even come with built-in adhesive. To use them, simply remove the backing paper and press the holder onto your chosen surface. Make sure the LED strip fits securely within the holder and that the holder itself is correctly positioned on the surface.
Mounting Clips
Mounting clips provide another way to secure your LED light strips in place. These clips typically come in packs and can be easily snapped onto the LED strip. Once you’ve attached the mounting clips to the strip, use the provided screws to fix them onto the surface. This method is particularly helpful when attaching LED light strips to surfaces that may not adhere well with adhesive tapes, such as rough or uneven textures. Just ensure that you evenly space the clips along the strip to avoid sagging or uneven lighting.
Remember, selecting the right materials is essential for effective LED light strip restoration. Opt for high-quality adhesive tapes, LED strip holders, and mounting clips to ensure your LED light strips remain in place and provide you with the desired lighting effects.
Preparation Before Resticking
To ensure the best results when resticking your LED light strips, it’s important to take a few preparatory steps. Properly preparing the surface and lighting strips will make the process smoother and increase the chances of a successful outcome.
First, carefully remove the LED light strips from their original location. Be gentle when peeling them off to minimise any damage. Inspect the strips thoroughly for any damages or weak points in the adhesive.
Next, clean the area where you intend to restick the strips. Use a soft cloth with a 50/50 mixture of isopropyl alcohol and water to wipe down the surface. This will remove any dust, grease or residue that might impact the adhesive’s effectiveness. Make sure the surface is completely dry before moving onto the next step.
Now it’s time to prepare the LED light strips for resticking. Check the condition of the existing adhesive on the back of the strips. If it’s in poor condition or no longer sticky, it’s best to remove it and replace it with new adhesive. You can find double-sided tapes specifically designed for LED strips in most home improvement stores. When applying the new adhesive, ensure that it covers the entire length of the strip and press it firmly into place.
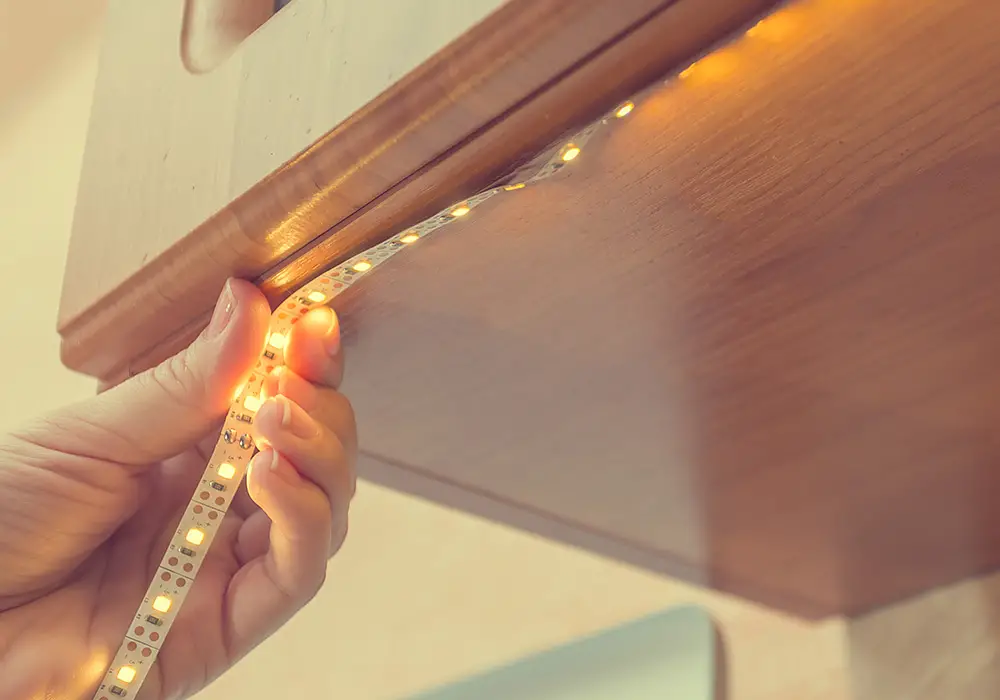
After preparing both the surface and the LED light strips, it’s now time to restick them. Carefully peel back the protective layer on the adhesive and gently press the strip onto the desired surface. Apply even pressure to ensure a strong bond. Remember to work in small sections, making sure the strip is properly aligned and there are no air bubbles underneath.
By following these instructions and properly preparing the surface and the LED light strips, you’ll have a successful resticking process. This will allow you to continue enjoying your LED lights and achieving the desired ambience in your space.
Steps to Restick LED Light Strips
Remove Old Adhesives
Before resticking your LED light strips, it’s vital to clean the surfaces involved. Start by carefully peeling off the old adhesives from both the back of the LED strip and the mounting area. You may use a plastic scraper or a similar tool to help with this process. Once the old adhesives are removed, clean the surfaces with rubbing alcohol and a microfibre cloth. This will ensure the smooth attachment of the new adhesive and improve stickiness.
Apply New Adhesives
With the surfaces clean, you’re ready to apply new adhesive to your LED light strips. There are two common options for adhesive materials:
- Double-sided tape: Cut your double-sided tape into appropriate sizes for your LED strip, making sure it’s at least as wide as the strip. Peel off one side of the tape and attach it to the back of the LED strip, pressing firmly to ensure proper bonding.
- Silicone glue: An alternative to double-sided tape is using a silicone-based adhesive. Apply a thin and even layer of silicone glue along the back of the LED strip. Be sure not to use too much, as excessive glue can cause a mess and uneven attachment.
Attach the LED Strip Holders
For added support, consider incorporating LED strip holders into your installation. These holders will help secure your strips and reduce the likelihood of them falling off in the future. Follow these steps to attach the holders:
- Measure and mark the mounting points for your holders. Space them evenly along the area where the LED strip will be attached.
- Affix the holders using either their built-in adhesive or small screws. If using adhesive, press firmly to ensure a strong bond with the surface. If using screws, ensure they are tightened securely.
- Once your holders are secured, position the LED strip into the holders, ensuring the adhesive on the back makes contact with the surface. Press down firmly along the entire length of the strip to create a strong bond.
By following these steps, you’ll have successfully resticked your LED light strips, ensuring they remain securely in place and continue to provide you with efficient and effective lighting.
Testing and Maintaining Your Restuck LED Light Strips
After successfully resticking your LED light strips, it’s essential to test and maintain them for long-lasting performance. To ensure proper functionality, follow these steps:
- Switch on the lights: Turn on the LED light strips to ensure they’re operational and illuminating as intended. Observe for any flickering or irregularities in brightness, which may indicate a poor connection or damaged strip.
- Inspect the adhesive: Check the adhesion by gently pulling the strip away from the surface. If it detaches easily, you might need to apply more adhesive or consider a stronger bonding solution.
- Regularly clean the surface: Dust and dirt can accumulate on your LED light strips, potentially decreasing their lifespan and brightness. Make a habit of gently wiping them with a microfibre cloth to remove any particles.
To maintain the brightness and longevity of your restuck LED light strips, consider the following tips:
- Keep the strips cool: Excess heat can reduce the lifespan of your LED light strips. Ensure they are placed in a well-ventilated area and away from direct sunlight or heat sources.
- Use a compatible power supply: Ensure your power supply matches the voltage and wattage requirements of your LED light strips. Incompatible power supplies can lead to premature wear and reduced performance.
- Avoid twisting or bending: Excessive bending and twisting can damage the circuitry within your LED light strips. When installing or repositioning them, be careful not to apply too much force or bend them too sharply.
By taking the time to test and maintain your restuck LED light strips, you can assure their continued performance and prolong their lifespan, providing you with an elegant and energy-efficient lighting solution.