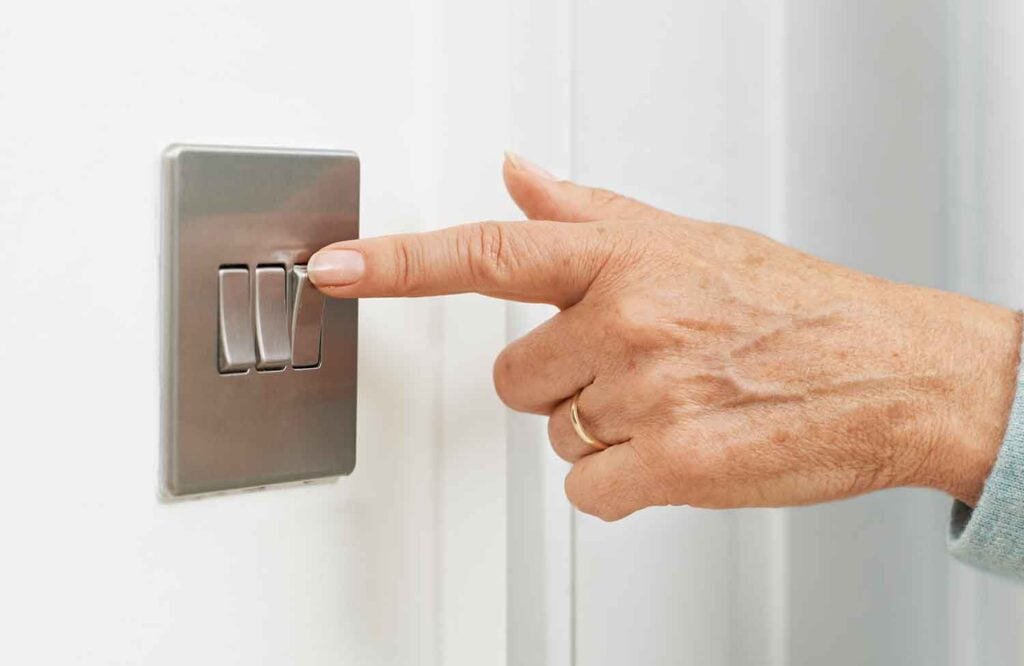
How To Fix A Light Switch That Won’t Turn On
Light switches are an essential part of any home, allowing you to control the lighting in every room with just a flick of your finger. However, situations may arise where your light switch refuses to cooperate, leaving you in the dark. Fixing a light switch that won’t turn on is a task every homeowner should familiarise themselves with, as it can be accomplished through basic troubleshooting techniques.
Before diving into the process of fixing your light switch, it’s important to understand the various components that contribute to its proper functioning. A light switch is part of a larger electrical circuit, connected to your home’s circuit breaker panel and the corresponding light fixture or appliance. Being aware of these connections helps you identify potential issues that may arise from loose connections, faulty wiring, or broken components.
With a foundation of understanding set, the next steps will involve safety precautions, gathering necessary tools, and learning the techniques to address common problems with the light switch. As with any electrical task, safety should be a top priority to avoid accidents and protect yourself from potential hazards.
Key Takeaways
- Equip yourself with knowledge about light switch components and connections
- Prioritise safety precautions when troubleshooting and fixing light switches
- Follow a systematic approach to identify and address common light switch problems
Understanding the Basics of a Light Switch
A light switch is a crucial component in your home’s electrical system. It allows you to control the flow of electricity to your lights, enabling you to turn them on and off at will. To better grasp the process of fixing a light switch that won’t turn on, it’s essential to understand its basic components and how they work together.
The typical light switch is made up of a few key parts: the switch itself, the faceplate, and the wiring connections. The switch is the actual mechanism that controls the flow of electricity to the light fixtures. It can be a simple toggle or rocker switch or a more advanced dimmer switch.
The faceplate is the exterior cover that protects the inner workings of the switch and provides an aesthetically pleasing finish to the wall. Inside the switch, there are connections for the cables coming from the electrical supply and those going to the light fixtures. These cables are usually colour-coded to indicate their purpose and ensure proper installation.
When troubleshooting a light switch that won’t turn on, consider the following common issues:
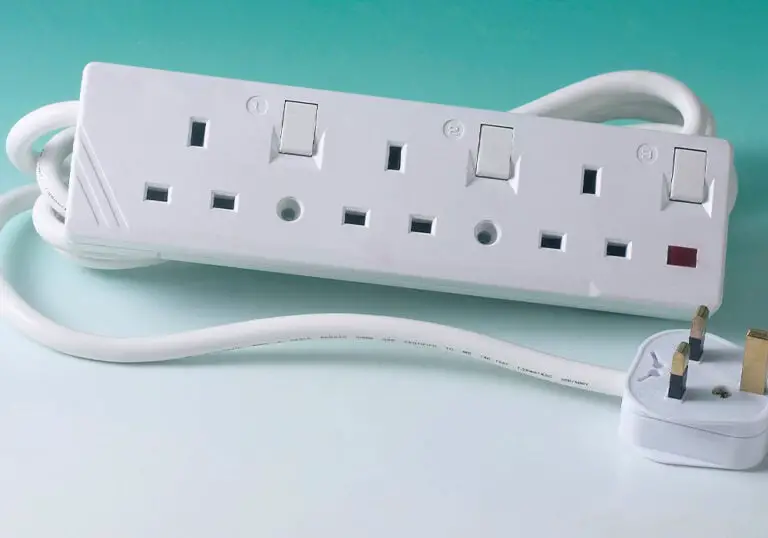
- Power supply issues: Ensure that the power supply to the switch is working correctly. You can check by testing if other electrical devices in the same circuit are functioning. If there are any issues with them, consider inspecting the circuit breaker or fuse box.
- Loose or disconnected wires: To fix this issue, you will need to safely access the wiring behind the switch by removing the faceplate. Ensure that all connections are tight, secure, and connected to the correct terminals according to their colour-coding.
- Worn or damaged switch mechanism: If the physical switch is no longer performing its intended function, you may need to replace it with a new one. Be sure to purchase a compatible switch suitable for your specific light fixture.
After identifying the problem, follow the necessary steps to fix the light switch, such as replacing the switch or tightening loose connections. Always remember to turn off the power supply from the main panel before embarking on any electrical work to ensure your safety.
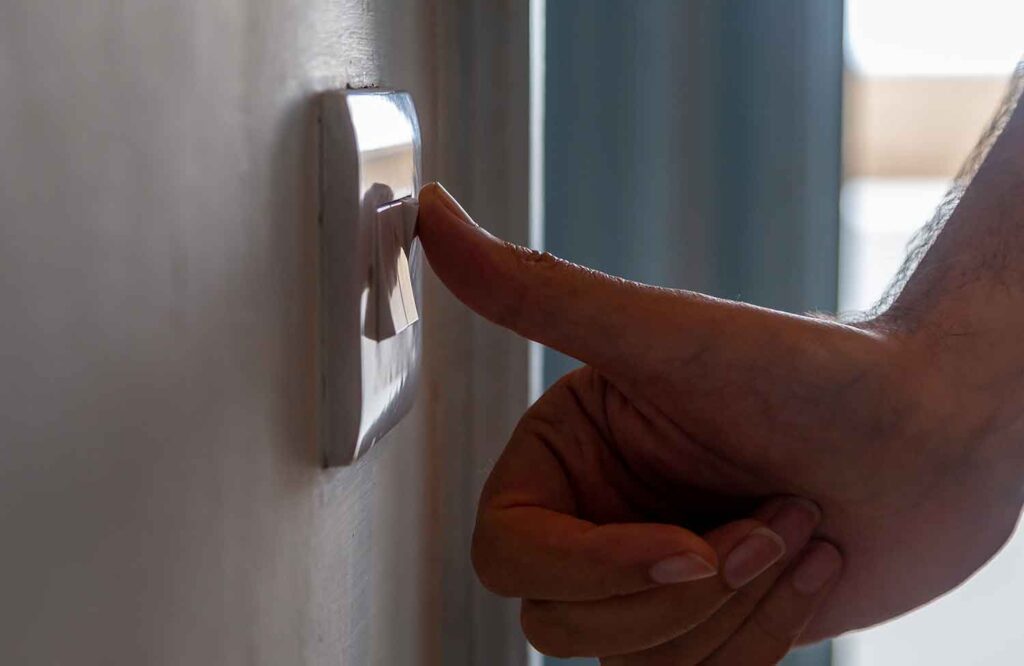
Symptoms of a Faulty Light Switch
It’s important to be aware of the symptoms of a faulty light switch, so you can address the issue before it becomes a bigger problem. Here are some common signs to look out for:
- Inconsistent functioning: If your light switch works sometimes and not others, this could be a sign of a worn or damaged switch.
- Buzzing or unusual noises: When you turn the switch on or off, you might hear clicking, sizzling, popping, or buzzing sounds. This could be due to loose wire connections or a defective switch.
- Flickering lights: If the lights flicker when you operate the switch or don’t consistently stay on or off, this may be an indication of a faulty switch.
- Warm or hot switch: If you notice that the switch feels warm or hot to touch when in use, this could indicate a potential wiring issue or a worn-out switch.
- Sparks or visible damage: When a switch sparks upon usage or shows obvious signs of damage, this is a clear indication of a faulty switch that needs to be replaced immediately.
Keep in mind, observing any of these symptoms warrants further investigation by either a knowledgeable homeowner or a professional electrician. Identifying and addressing a faulty light switch early can save you from potential accidents or larger electrical issues down the line.
Safety Precautions Before Fixing a Light Switch
Turn Off Electrical Power
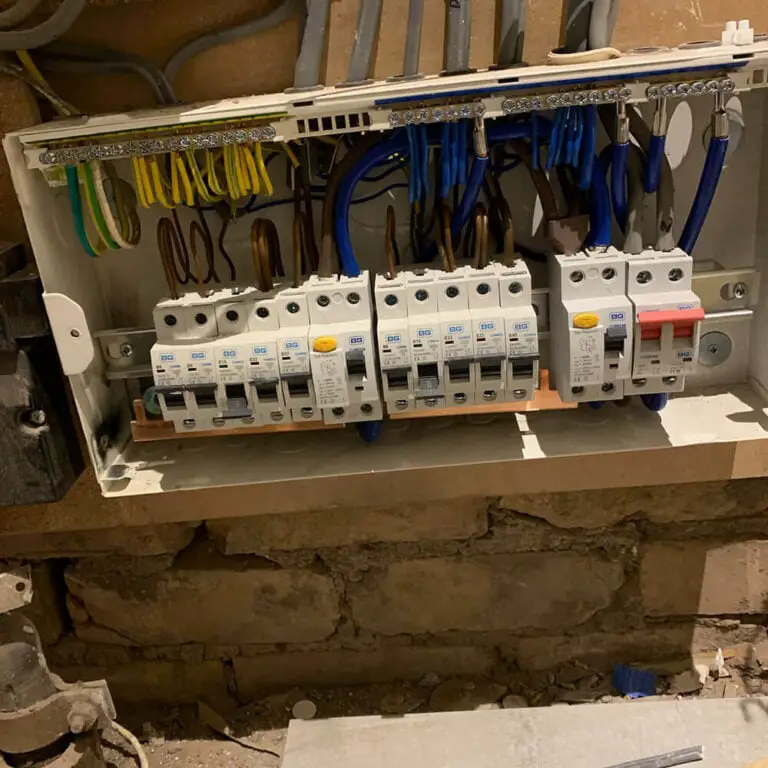
Before attempting to fix a light switch, it is essential to turn off the electrical power to minimise the risk of electrocution. Ensure you switch off the mains power at the consumer unit or fuse box. Isolate the specific circuit you plan to work on by either removing the circuit fuse or switching off the breaker and locking it, if possible.
Use Protective Gear
Wearing protective gear is crucial for your safety when working with electricity. Use insulated gloves and safety goggles to protect your hands and eyes. Wearing non-conductive shoes will also help prevent any accidental shocks.
Avoid Handling Exposed Wires
Always be cautious when dealing with exposed wires. Ensure the power is turned off, and if necessary, use insulated tools when handling or adjusting any electrical connections. Damaged, frayed or nicked wires may not provide a proper connection, which can lead to switch problems. If you are unsure about handling exposed wires, consider consulting a professional electrician for assistance.
Tools Required for Fixing a Light Switch
When you are fixing a light switch that won’t turn on, having the right tools can make the process easier and safer. In this section, we will cover the essential tools for this task.
Screwdriver
A screwdriver is one of the most basic tools you need when working on a light switch. You’ll use it to remove the faceplate, unscrew the switch mounting screws, and tighten the terminals. It is recommended to have both flathead and Phillips screwdrivers in various sizes to handle different types of screws.
Voltage Tester
A voltage tester is a crucial safety tool when working with electricity. Before starting any work on the switch, make sure the power is turned off at the circuit breaker. Use a voltage tester to double-check that there is no live electricity flowing to the switch. This will help protect you from getting shocked while working on the switch.
New Light Switch
If the issue with your light switch is due to a damaged or worn-out mechanism, you will need to replace it with a new one. Be sure to buy a light switch that is compatible with your existing switch and fits your wall box. It is also a good idea to bring your old light switch to the store as a reference to ensure you purchase the correct replacement.
These three essential tools will help you safely and effectively fix a light switch that won’t turn on. With the right tools in hand and a bit of know-how, you’ll be able to troubleshoot and resolve the issue in no time.
Steps to Fix a Light Switch That Won’t Turn On
In this section, we will guide you through the process of fixing a light switch that won’t turn on. Please ensure to switch off the power supply to the light switch before attempting any repairs, and consult a professional electrician if you are uncomfortable with electrical work.
Unscrewing Faulty Switch
First, you’ll need to unscrew and remove the switch plate cover, revealing the faulty light switch beneath. Typically, there are two screws holding the switch in place—one at the top and one at the bottom. Carefully remove these screws and gently pull the switch away from the wall, ensuring not to tug on the attached wires.
Disconnecting Old Switch
Before disconnecting the wires from the old switch, take a photo or make a note of their positions for future reference. Then, use insulated pliers to carefully disconnect each wire, keeping in mind that there are usually three wires:
- Live wire: (Brown or red)
- Neutral wire: (Blue or black)
- Earth wire: (Green-yellow striped)
Attaching New Switch
Now it’s time to connect each wire to the new light switch, following the same order as before. Refer to the photo you took earlier to ensure the wires are attached to the correct terminals. The live wire typically connects to “L1” or “COM” and the neutral wire connects to “L2” or “LOOP.” The earth wire connects to the green-yellow terminal.
If the terminals on the new switch are different, consult the manufacturer’s instructions for clarification. Securely tighten the terminal screws and ensure that no bare wire is exposed.
Testing New Switch
Gently push the new switch back into the wall, lining up the screw holes, and fix it in place with the original screws. Reattach the switch plate cover and turn the power supply back on. Test your new light switch to ensure it turns the light on and off as expected.
By following these steps, you should have successfully replaced and fixed a light switch that won’t turn on. If the problem persists, consult a professional electrician for further assistance.
Possible Reasons If the Light Switch Still Doesn’t Work
Issues With Wiring
There might be issues with the wiring causing the light switch to not work correctly. Check if there are any loose connections, deteriorated insulation, or damaged wires. To inspect and fix these issues, switch off the power to avoid any electrical hazards. Ensure that all the wires are properly connected and replace any damaged ones.
Incorrect Installation
If the light switch has been installed recently, there’s a chance it might not have been done correctly. Double-check the connections and ensure that the wires are attached to the correct terminals. If you’re not confident in doing this yourself, it’s best to contact a qualified electrician for assistance.
Faulty Light Bulb
Another possible reason that the light switch isn’t working could be due to a faulty light bulb. Before jumping to the conclusion that the switch itself is the problem, make sure to check if the light bulb is functioning properly. Replace the bulb with a new one and see if the issue is resolved. If the light still doesn’t turn on, the problem may lie with the switch or other wiring issues, and further investigation will be needed.