Can You Add Motion Sensors to Existing Outdoor Lights?
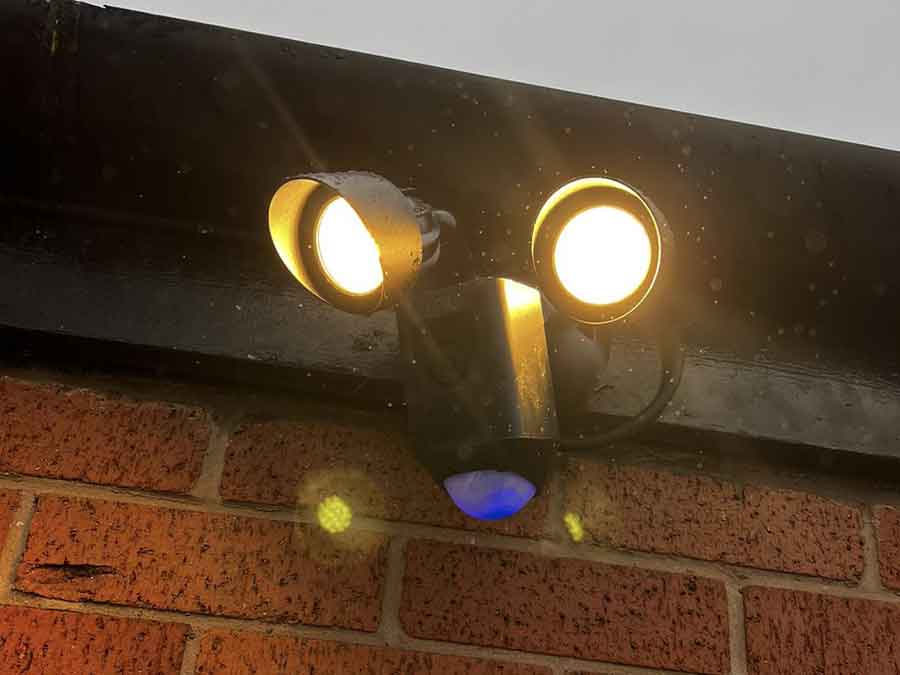
Motion-activated lights bring an additional layer of safety, security, and convenience to the outdoor areas around your home; these lights are an energy-efficient way to keep your outdoor areas well-lit when you need them to be. Luckily, it’s possible to connect your existing outdoor lighting to a motion sensor to create motion-activated lights without having to replace the fixture entirely.
Yes, you can add motion sensors to existing outdoor lights. The basic steps involve choosing the ideal placement for the sensor, before wiring it into the electrics of the existing light. This process requires a moderate level of technical know-how, so if you don’t feel confident in your skills, it may be best to have a professional do it for you. Otherwise, you can follow the steps that we’ve outlined later in this article to install motion sensors to your existing outdoor lights.
How Do Motion Sensor Lights Work?
Motion sensors work by emitting a beam of infrared light that detects changes in motion and temperature from moving objects. When the sensor detects such changes in its environment, it sends a signal that triggers the activation of the light. This is the basic operation of most types of motion-activated lights.
In more technical terms, the motion-sensing technology in these lights is known as PIR detection, i.e. ‘passive infrared’ detection. The sensor works in a passive way to detect changes in the infrared energy within its scope; the infrared beam of the sensor responds to sudden changes in the infrared energy in the sensor’s field of view. Because of this, a motion sensor light will not activate in response to a static object. It instead works when it detects the change in infrared energy that comes with a moving object.
What Are the Benefits of Adding Motion Sensors to Outdoor Lights?
Acts As Convenient and Energy-Efficient Outdoor Light Source
Aside from any other benefit, motion-activated lights are simply the most convenient and energy-conscious way to light your outdoor spaces. They switch on only when necessary, and remain off for the rest of the time.
There’s no need for you to worry about whether or not you forgot to switch off the outdoor lights; neither must you concern yourself with your household members or visitors arriving at your property in the dark. The lights will flick themselves on as soon as they detect motion before turning themselves off until they’re needed next. This is highly convenient, and will also keep your outdoor lighting costs to an absolute minimum.
Improves Safety Around Property Exterior
Having your outdoor lights on a motion sensor will improve the safety of your outdoor spaces. They illuminate the area around your property to allow any household members or visitors to clearly see it clearly in the dark.
Having no lighting in your outdoor spaces creates an automatic safety hazard for users of the space at night. There are a lot of unseen hazards like uneven paving slabs or steps that create a risk of tripping; in a more general sense, it’s just a lot safer to have a well-lit outdoor space for any other potential nighttime hazards.
Adds Extra Layer of Security for Property
As well as the safety benefits, adding motion sensors to outdoor lights will reinforce the security of your property. They will light up upon the detection of wanted and unwanted visitors alike; this can ward off opportunistic criminals that may attempt to infiltrate your property at night.
Even if the criminal is aware the lights have been activated by a motion sensor, this is still enough to work as a deterrent. If you’re there to monitor the situation, the motion-activated lights will make it easy to spot invaders on your property. If not, the lights will make it easier for you to spot them on security cameras. These criminals often rely on darkness as a cover for their illicit activities; as such, having motion-activated outdoor lights can improve the nighttime security of your property drastically.
Deters Wildlife from Property
Adding motion sensors to your outdoor lights can also act as a deterrent for unwanted wildlife. Many creatures that are most active at night are very sensitive to light and will stay away from areas that are well-lit.
It may be that you have a garden to protect, or you wish to keep wildlife away from your pets. Whatever the reason, adding motion sensors to your outdoor lights can make your outdoor spaces much less inviting to wildlife. Not all species are deterred by light, but many are, so this is another benefit of having motion-activated outdoor lights.
Can You Add Motion Sensors to Existing Outdoor Lights?
Yes, you can add motion sensors to existing outdoor lights. In fact, you can add motion sensors to any type of existing lighting on your property. Still, for the majority of homeowners, motion sensors are most valuable as an addition to their outdoor lights specifically.
Your outdoor spaces are the areas in which motion-activated lights would be most beneficial. These areas typically only need temporary lighting for the convenience of moving in and around your property at night. Because of this, motion sensors can be a great addition to your outdoor lighting for the many reasons we’ve explained above.
The only circumstance that may prevent you from adding motion sensors to your outdoor lights is if you’re unable to access their wiring. Before you attempt to install the motion sensor, you must identify the area that you want it to cover; you should then plan how you will wire the sensor into the lighting circuit to ensure that it’s possible. Apart from this consideration, there’s nothing stopping you from adding motion sensors to your existing outdoor lighting.
How Do You Add Motion Sensors to Existing Outdoor Lights?
Adding motion sensors to outdoor lights involves the purchase and installation of a motion sensor kit. You must correctly place and aim the sensor, before wiring it into the existing light’s circuitry. Finally, you’ll need to adjust the sensor’s settings to the appropriate sensitivity for the surrounding area. You can carry this out yourself if you have a moderate level of familiarity with this kind of electrical job; if you feel confident, we have detailed the full process of adding motion sensors to existing outdoor lights below.
1. Gather Tools and Purchase Motion Sensor
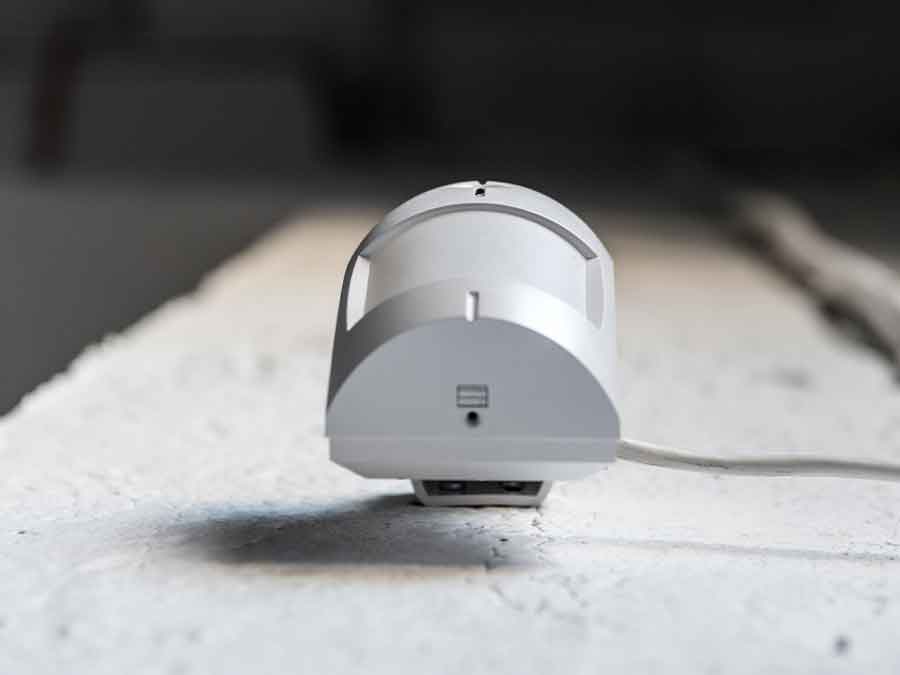
The first stage is to purchase your motion sensor and gather all of the tools you may need for its installation. Making sure you have everything you’ll need to hand will speed up the rest of the process.
At minimum, you’ll need to purchase a new motion sensor kit and have a screwdriver that matches the kit’s screws. There are other additional tools that you may need during the installation process, which include:
- Junction Box – It’s likely that you’ll need to install a junction box to house the wiring of the motion sensor and its connected light.
- Wirecutters – You may need to cut wires so having a pair of wirecutters at hand is sensible.
- Wire Connectors – These are small parts for joining wires together during the wiring process; most motion sensor kits will come with these components as part of their included accessory pack.
- Voltage Tester – This tool aids in the identification of the hotwire during the wiring process, as well as confirming the voltage is off.
- Electrical Tape – You may want to have some electrical tape at hand to mark the hotwire.
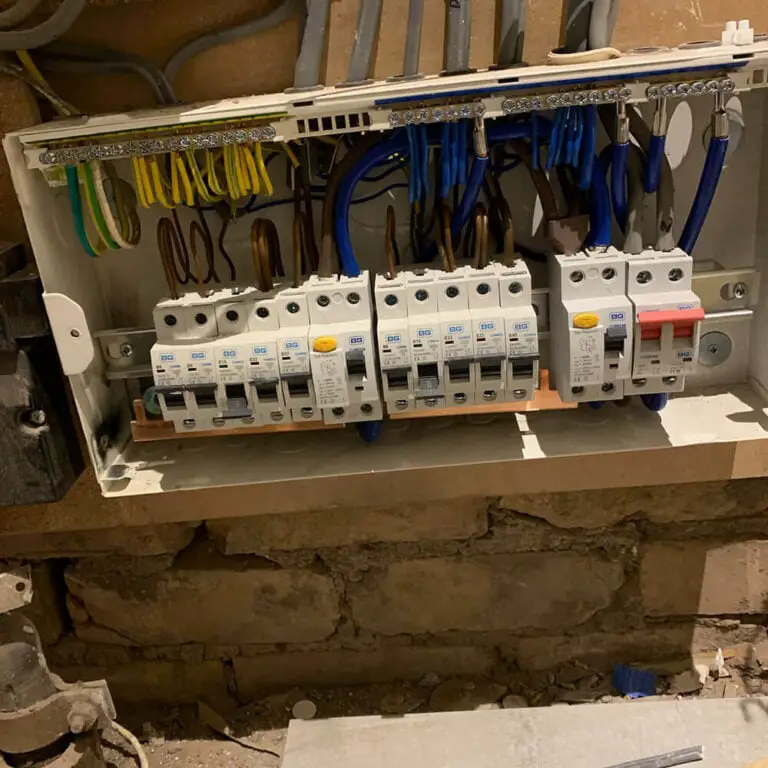
2. Cut Power to Light
To avoid accidental shocks, it’s crucial to cut the power to the light before you continue with the sensor installation. It’s safest to do this by shutting off the power to the whole electrical zone using the relevant switch in your circuit breaker box. Use a voltage tester to test each wire to ensure the power is completely off.
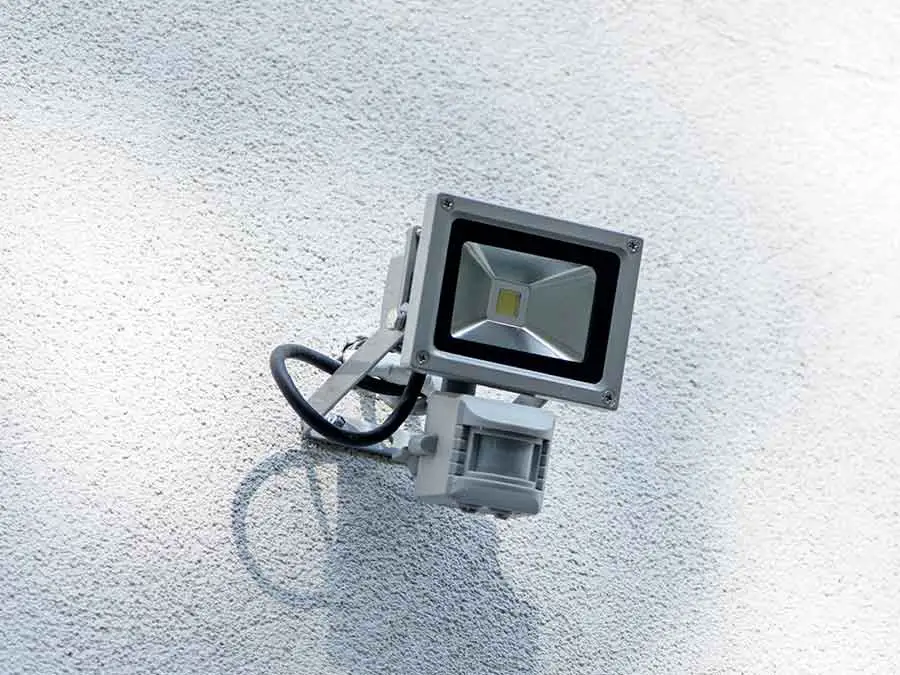
3. Choose Placement of Motion Sensor
With the power off, you can then pick a spot for the motion sensor; this should be somewhere on your property’s exterior between the light and its power source.
The manufacturer will recommend specific directions for the sensor’s viewing range. But, in general, motion sensors work best when placed 2 to 3 meters above the ground. Mark this intended location for your sensor.
4. Locate Junction Box
Locate the junction box to which the existing light is already connected. You should find this box on a wall or ceiling close to the existing fixture. Remove the cover from the junction box to access the wires it contains.
5. Connect the Sensor to the Wiring of the Junction Box
You’ll then need to connect the wires of the motion sensor to the wires in the existing junction box. This process is as follows:
- Disconnect the wires as they’re currently connected.
- Connect the hot wire in the box to the motion sensor.
- Connect the motion sensor’s load wire to the load wire for the existing light.
- Connect the neutral wire from the box to the neutral wire of the sensor.
- Replace the cover on the junction box ensuring that all of the wires are secure inside the box.
6. Fix Motion Sensor to Wall
With the wires connected, you can then fix the motion sensor in place as per your decision in the previous step. Your motion sensor kit should come with all of the brackets and fixings you’ll need to attach it to the wall. You may want to only partially fix the motion sensor in place until you have adjusted its settings in the next step.
5. Adjust Sensitivity Settings on Motion Sensor
Adjust the sensitivity settings on your motion sensor to suit the location you’ve placed it in. This may take a few rounds of trial and error, adjusting the lights and testing their sensitivity until you reach the ideal level. Once you achieve this, ensure the motion sensor is fully screwed in place. Your lights should now work on a motion-activated basis.