How to Wire LED Lights: A Step-by-Step Guide
Wiring LED lights is a task that combines precision with a touch of hands-on skills. Whether you’re looking to add a vibrant touch to your home with strip lighting or need to brighten up a workspace, the versatility of LEDs has made them a favourite for a variety of lighting projects. Before diving into the project, it’s crucial to understand that LEDs have specific requirements unlike traditional incandescent bulbs. For instance, they operate on low voltage and often require resistors to manage current and prevent damage.
Ensuring you have the right tools and materials at the outset will make the process smoother. You’ll typically need a reliable power supply, appropriate resistors, connectors, and basic tools like wire cutters and soldering iron, depending on the complexity of the setup. Once you have all the necessary components, the next step involves cutting LED strips to size, attaching them to the power supply and ensuring all connections are secure. It’s also important to familiarise yourself with the polarity of LED wiring; connecting them the wrong way can prevent them from working altogether.
Key Takeaways
- LED lights require careful handling and specific electrical components to function correctly.
- The correct tools, such as a power supply and resistors, are essential for a successful installation.
- Secure and accurate connections are vital for LED wiring, including attention to correct polarity.
Understanding LED Lighting Basics
Before wiring LED lights, it’s vital to comprehend the variety of LEDs available and the specific voltage and current they require to operate correctly.
Types of LED Lights
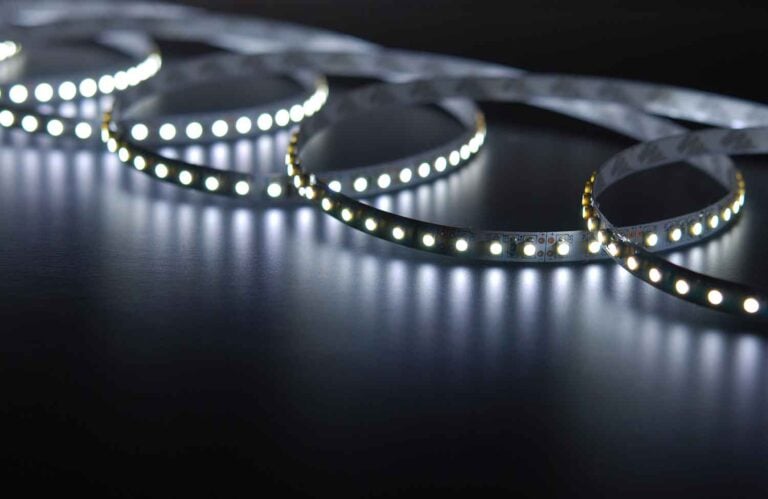
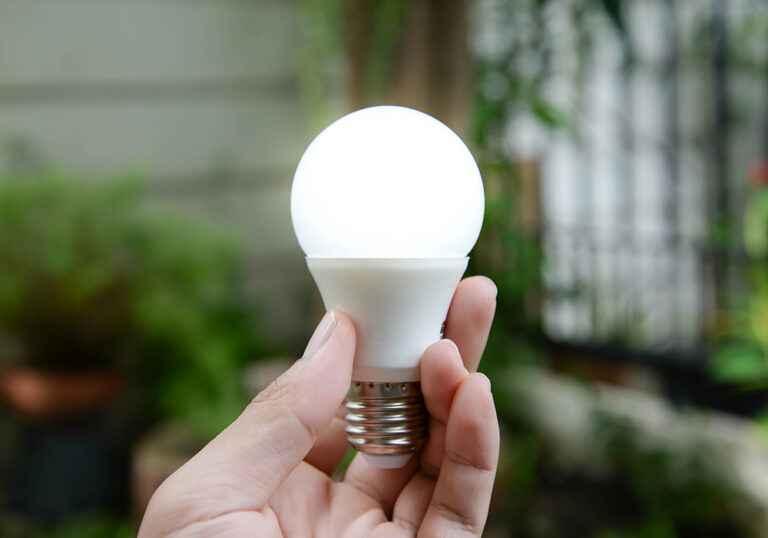
LEDs come in many forms, each suited for different applications. Strip lights are flexible and ideal for creating ambient lighting or decorating spaces. Bulbs replace traditional incandescent lamps and are commonly used in homes. Modules are small but powerful sources of light often used in signage. COB (Chip on Board) LEDs provide a high intensity of light and are used in professional lighting environments.
LED Voltage and Current Requirements
LEDs operate on low voltage, typically 2-3 volts, but installation often requires a constant current LED driver to maintain a fixed current. This is because the current passing through an LED directly affects its brightness and longevity. If the current exceeds the LED’s rating, it can overheat and fail. For safe operation, use a power supply that matches your LED’s voltage and current specifications.
Essential Tools and Materials
Before you start wiring LED lights, ensuring you have the right tools and materials is crucial to a successful installation. Here’s what you’ll need.
Wiring and Soldering Equipment
- Soldering iron: A primary tool for making durable connections.
- Solder: Use a quality rosin-core solder suitable for electronics work.
- Wire strippers: These are essential for removing insulation without damaging the wire.
- Wire cutters: Necessary for cutting wires to the correct length.
- Heat-shrink tubing: Protects soldered connections from short circuits.
- Multimeter: Checks for correct voltage and troubleshoots connection issues.
Safety Gear
- Safety glasses: Protect your eyes from stray bits of wire or solder.
- Gloves: Non-conductive gloves can reduce the risk of electric shock.
Wiring LED Lights Step by Step
Wiring LED lights requires attention to detail to ensure safe and proper function. Here are the key steps for a successful installation.
Preparing the LEDs and Wires
Before beginning, make sure your LED strips are cut to the desired length, utilising the scissors to trim them at the marked lines. Prepare your wires and tools, confirming they are compatible with the LED specifications.
- Trimming LED Strips: Cut along the indicated lines using scissors.
- Gathering Tools and Materials: Ensure you have a soldering iron, wire strippers, and the correct gauge of wire.
Connecting the LED Strips
For a secure electrical connection, you may either solder the wires directly to the LED strip pads or use clip-on connectors if available.
- Strip Wires: Remove a small section of the insulation from the end of each wire.
- Soldering (if applicable):
- Pre-tin the LED pads and wire tips with solder.
- Heat the pads and the wire simultaneously, applying solder to join them.
OR
Using Connectors (alternative to soldering):
- Open the connector clip.
- Insert the stripped wire and LED strip end.
- Close the clip to secure the connection.
Insulating and Securing Connections
Once your LED strips are connected, insulate any exposed wires or soldered joints with electrical tape or heat-shrink tubing to prevent short circuits.
- Electrical Tape: Wrap around joints, ensuring no bare wire is exposed.
- Heat-Shrink Tubing: Slide over the connection, then apply heat to adhere firmly around the wires and pads.
Secure the setup using mounting clips or an appropriate adhesive backing to the surface, considering ventilation and avoiding any heat sources.
Testing and Troubleshooting
Proper testing and troubleshooting are critical to ensuring that your LED lights function correctly. Before proceeding to installation, you should conduct initial tests with a multimeter to verify the functionality of your LEDs. When issues arise, identifying and addressing common problems can help you resolve them quickly.
Conducting Initial Tests
To begin with, ensure your multimeter is set to the diode setting. You’ll want to check the LED by touching the multimeter probes to the LED terminals – positive probe to the anode and negative to the cathode. If the LED lights up, it is working as expected; if not, the LED may be faulty. Moreover, it is essential to confirm none of the wires are loose or obstructed, as this can interrupt the circuit.
Identifying and Fixing Common Issues
- Loose Connections: Check all wire connections to make sure they’re tight and secure. Loose connections can cause intermittent lighting or complete failure.
- Incorrect Polarity: LEDs will only work if the polarity is correct. If your LEDs aren’t lighting, double-check that the positive and negative leads are connected properly.
- Faulty Power Supply: Confirm the power supply is providing the correct voltage and amperage for your LED setup. If the values are too low, your LEDs may not power up.
- Overheating: LEDs that are too hot may indicate over-driving the diodes or poor heat sinking. Ensure you have adequate cooling if you observe any overheating.
By following these steps to test and troubleshoot your LEDs, you will be prepared to properly wire and get them up and running efficiently.