Does A Dimmer Switch Require Special Wiring?
Dimmer switches have become increasingly popular in modern homes as they offer an easy solution for controlling the intensity of lighting, allowing homeowners to create different ambiances in their living spaces. Many people often wonder if special wiring is required when installing a dimmer switch, and the answer is quite simple; it usually isn’t necessary.
Understanding how dimmer switches work is crucial to grasping the wiring process involved. Single-pole dimmer switches can replace existing single-pole light switches, while 3-way dimmers can easily replace a standard 3-way switch or be used as a single-pole switch with one wire capped off. As long as you have the appropriate dimmer switch to suit your lighting system and adhere to safety regulations, the installation is typically a straightforward task.
However, it’s essential to bear in mind that certain cases may require special wiring or additional considerations, such as when dealing with fluorescent lights or fan controls. In these instances, you may need to acquire a particular type of dimmer switch to ensure seamless integration with your existing wiring.
Key Takeaways
- Dimmer switches typically don’t require special wiring, although certain cases may warrant extra considerations.
- Understanding the type of dimmer switch needed for your lighting system is crucial for a successful installation.
- Safety measures and adherence to wiring regulations are vital in ensuring a safe and efficient dimmer switch installation.
Understanding Dimmer Switches
Dimmer switches allow you to adjust and control the brightness of dimmable bulbs. This helps to achieve a preferred level of lighting and can be beneficial when creating mood lighting. The process of installing a dimmer switch may seem daunting, but it doesn’t have to be complicated.
Firstly, you should know that dimmer switches do not require special wiring. Single-pole dimmer switches can replace existing single-pole light switches, and 3-way dimmers can easily replace a standard 3-way switch or be used as a single-pole switch with one wire capped off.
When installing a dimmer switch, it’s essential to ensure that the wires are connected correctly. To make this easier, take a photo of the current wire setup and label each wire with masking tape and a pen. You’ll also need a small flat head screwdriver to loosen and tighten the wire clamps during the installation process.
Turn off the circuit at your consumer unit before you begin any work. Then remove the existing light switch and connect the new dimmer switch according to your labelled wires and the switch’s instructions.
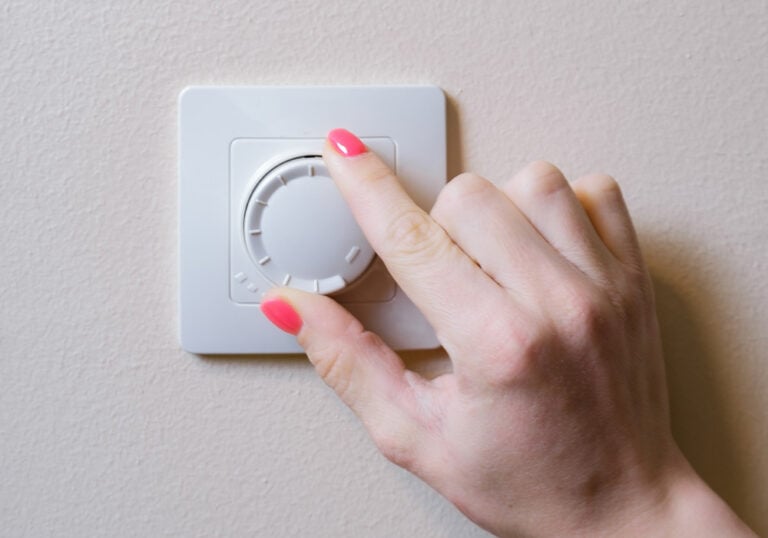
Once the dimmer switch is installed, turn the circuit back on at the consumer unit. Test the dimmer switch by turning the dial until you hear a click, signalling that the switch is on, and then slowly adjust the dial to see the light gradually change in brightness.
With this knowledge, you can confidently install a dimmer switch in your home without the need for special wiring.
The Importance of Correct Wiring
When installing a dimmer switch, it is crucial to ensure the wiring is done correctly. Proper wiring not only ensures the safety of your home but also maintains the functionality of the dimmer switch. Incorrect wiring can lead to issues such as flickering lights, a buzzing noise, or even damaged electrical systems.
Dimmer switches typically do not require special wiring. Single-pole dimmer switches can replace existing single-pole light switches, and 3-way dimmers can replace a standard 3-way switch or be used as a single-pole switch with one wire capped off. However, knowing which wires go where is essential for a successful installation.
Before beginning the installation process, make sure to turn off the circuit at the consumer unit to avoid potential electrical hazards. It is helpful to take a photo of the existing wire setup and label each wire with masking tape and a pen, making the process much more manageable. Gathering the necessary tools, such as a voltage tester, screwdriver, wire strippers, and wire nuts, will streamline the installation.
When replacing a standard light switch with a dimmer, first remove the existing switch from the wall and pay attention to the connection of wires. You will usually find three wires: live, neutral, and earth (ground). The live wire is responsible for carrying the current and is typically brown or red. The neutral wire, normally blue or black, helps complete the circuit, and the earth or ground wire – green and yellow – ensures the safety of the device.
Carefully follow the manufacturer’s instructions for connecting the wires in the dimmer switch. The connections will generally be the same as the existing light switch, but some dimmers may have additional wires or components. Ensure all connections are secure by using wire nuts, and replace the dimmer switch plate before re-energising the circuit at the consumer unit.
Once the dimmer switch is installed, test the switch by turning the dial until you hear a clicking sound, indicating it is turned on. Slowly rotate the dial and observe if the light slowly becomes brighter. If everything is working correctly, you can be confident in your correct wiring installation.
Materials Needed for Dimmer Switch Installation
Before starting the installation of a dimmer switch, it is essential to have the necessary materials at hand. This will ensure a smooth and efficient process. Here are the tools and materials you will need:
- Dimmer switch: Choose the appropriate type of dimmer switch for your light bulbs and desired control style. Dimmers can be rotary or slide, and compatibility varies with bulb types such as incandescent, fluorescent, LED, or low-frequency bulbs.
- Screwdriver: A Philips or a small flat-head screwdriver will help you remove the existing light switch and secure the dimmer switch in place.
- Wire strippers: These are useful for removing the insulation from the wires, allowing you to connect them to the dimmer switch properly.
- Wire nuts: Use these to safely cover any exposed wire connections and ensure that the wires remain firmly connected.
- Masking tape and pen: Label each wire to help you keep track of which wires go where during the installation process.
- Digital camera or smartphone: It is recommended to take a photo of the current wire setup before disconnecting the old switch. This will serve as a reference when connecting the wires to the new dimmer switch.
After gathering these materials, you can proceed with the dimmer switch installation. Remember to switch off the power at the circuit breaker or fuse box before handling any electrical wires. As long as you follow the appropriate steps and safety precautions, installing a dimmer switch should be a manageable task. If in doubt, consult an electrician for further guidance.
Typical Wiring Process for a Dimmer Switch
When installing a dimmer switch, you’ll be glad to know that it doesn’t require special wiring. In fact, dimmer switches can often replace existing single-pole or 3-way switches quite easily. To guide you through the process, here is a typical wiring process for a dimmer switch in a few simple steps:
- Safety first: Before starting any electrical work, ensure to turn off the power at the mains. Turn off the circuit breaker or remove the fuse that corresponds to the switch you’re working on. Double-check if the power is off by using a voltage tester.
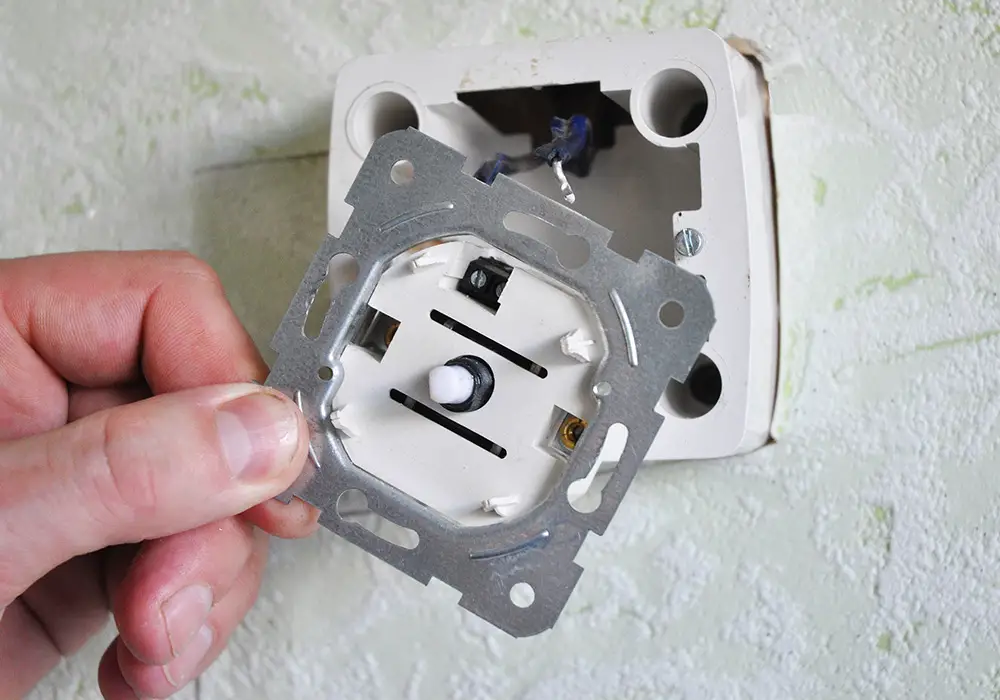
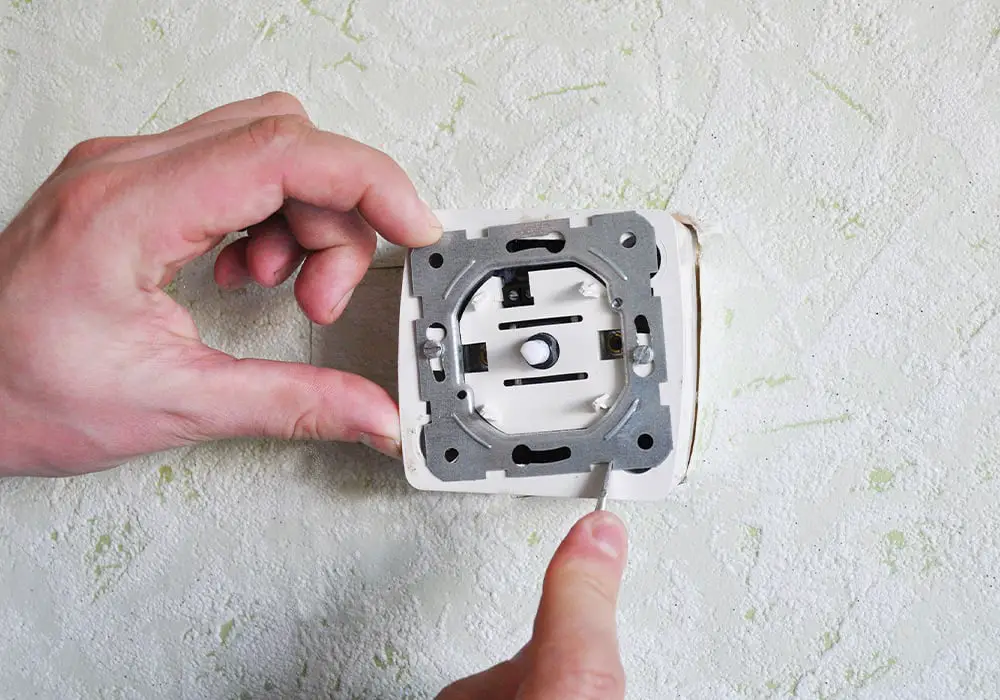
- Remove the existing switch: Unscrew the existing switch’s faceplate and gently pull it away from the wall. It’s important to note the current wire connections, so take a photo or label them with masking tape and a pen before disconnecting.
- Connect the dimmer switch: Prepare the wires from your wall by stripping about 1.3 cm of insulation from the ends if needed. Connect the wires from your wall to the corresponding terminals on the dimmer switch according to the manufacturer’s instructions. Usually, green or bare wire is your ground, white is your neutral, and red or black is your live wire. Use wire nuts to secure the connections.
- Verify wiring: Before you proceed, double-check your wire connections and ensure they match the original wiring setup. If your dimmer switch has a three-way configuration, make sure to cap off the unused wire with a wire nut.
- Mount and test: Attach the dimmer switch to the mounting box with screws, ensuring that it is level, then carefully fix the faceplate back onto the switch. Turn the power back on at the mains, and test your dimmer switch to confirm that it’s working as intended.
By following these steps, you can easily install your dimmer switch and enjoy the benefits of adjustable lighting in your home.
Special Wiring Considerations for Dimmer Switches
When it comes to installing a dimmer switch, you might be wondering if you need special wiring. The good news is that dimmer switches typically do not require special wiring. Single-pole dimmer switches can replace existing single-pole light switches, and 3-way dimmers can easily replace a standard 3-way switch or be used as a single-pole switch with one wire capped off.
Before you begin the installation process, it’s essential to gather the necessary tools including a screwdriver and wire strippers. To help you with the wiring process, take a photo of the current wire setup and label each wire with masking tape and a pen. This simple step can make the process easier for you, ensuring you know which wires go where.
However, when replacing the light switch with a dimmer, keep in mind that not all dimmer switches are compatible with all types of lighting. For instance, if you want to control a fluorescent light or a fan, you will need a special dimmer designed for that purpose. So, it’s crucial to choose the right dimmer switch for your specific lighting requirements.
Overall, the installation of a dimmer switch doesn’t require special wiring, but you should take care with the installation process and opt for the right dimmer switch type for your needs. By doing this, you can control the light levels in your space more effectively, achieving the desired ambiance and energy savings.
Safety Measures During Installation
When installing a dimmer switch, it’s essential to prioritise safety. Keep the following safety measures in mind during the installation process.
Before beginning, ensure the power to the circuit is off by turning off the breaker or removing the fuse at the main electrical panel. Use a voltage tester to confirm there is no live current in the wiring you will be working with.
Choose the appropriate dimmer switch for your light fixture. Standard dimmers are not compatible with all types of lights, such as fluorescent lights or fans; special dimmers are needed for these scenarios. Check the dimmer specifications to ensure compatibility with your specific light fixture.
Use proper tools and materials for your installation, including screwdrivers, wire strippers, and wire nuts. The right equipment will help ensure a safe and efficient installation process.
Follow the manufacturer’s instructions when installing the dimmer switch. Failing to follow these guidelines can result in an unsafe installation or damage to the dimmer switch itself.
Install the dimmer switch in a correctly sized electrical box. An incorrectly sized or poorly grounded electrical box can result in unsafe or poor-quality installations.
In conclusion, always consider the electrical safety of your home and the well-being of those living in it. If you feel unsure or uncomfortable when installing a dimmer switch, it’s advisable to consult a qualified professional electrician.
Troubleshooting Common Dimmer Switch Wiring Issues
When you encounter issues with your dimmer switch, there are some common wiring problems you can check before seeking professional help. Here are a few potential issues to be aware of and how you can fix them:
1. Compatibility with LED lights: One of the most common issues with dimmer switches is their compatibility with LED lights. If your LED light isn’t working at all or isn’t dimming properly, it may be due to the dimmer itself not being compatible with LED lights. Check the manufacturer’s specifications to ensure your dimmer switch is compatible with the LED bulbs you’re using.
2. Buzzing noise: Buzzing from a dimmer switch may be caused by loose wiring or a damaged switch. First, make sure your electrics are switched off at the fuse box. Then, remove the cover plate and check the connections. Ensure that all wires are tightly connected using a wire connector. If the problem persists, consider replacing the switch.
3. Flickering lights: Flickering might be a sign of a damaged dimmer switch or improper wiring connections. Again, make sure your electrics are switched off at the fuse box before checking the wiring. If connections are secure and there’s no issue with the dimmer itself, you may need to replace the switch.
4. Lights not dimming: If your light isn’t dimming at all, the problem could be the wiring. Check that you’ve connected the dimmer switch correctly, and if necessary, consult an electrician or refer to the manufacturer’s instructions for proper installation.
It’s important to remember that safety should always come first when dealing with electrical wiring. Always switch off the electrics at the fuse box before working on anything related to your dimmer switch. By identifying and addressing these common wiring issues, you can enjoy a well-functioning dimmer switch and a perfectly lit room.