What Does A 2-Way Dimmer Switch Mean?
A 2-way dimmer switch, also known as a 3-way dimmer switch in the US, offers an innovative approach to controlling the brightness of your lights. This type of dimmer allows you to adjust the lighting levels from two different locations, providing both convenience and safety. No more traversing dark rooms to adjust the lights; with a 2-way dimmer switch, you can easily control your lighting from multiple points.
Understanding how a 2-way dimmer switch works is simple: it connects the main dimmer switch to a secondary switch, enabling you to control the lights from either location. This is particularly useful in larger rooms with multiple entrances, hallways, or staircases.
Key Takeaways
- 2-way dimmer switches provide convenient control of lighting levels from multiple locations
- These switches are beneficial in large rooms, hallways, and staircases
- A 2-way dimmer switch connects the main dimmer to a secondary switch for easy access
Understanding Dimmer Switches
A 2-way dimmer switch allows you to control a light from two different locations. It is called a 2-way switch in the UK and the EU, and a 3-way switch in the US. These switches have three terminals: a common terminal and two travellers.

To comprehend how a 2-way dimmer switch functions, you need to understand its components and their connections. When you turn on or off one of the switches, it sends an electrical signal through the wires within your walls and ceiling fixtures. This action enables you to operate the same light using different switches placed in separate locations.
It is crucial to know the difference between a 1-gang and a 2-gang dimmer switch while selecting the right one for your needs. A 1-gang dimmer switch has a single dimmer on the plate, while a 2-gang dimmer switch has two dimmers. The same principle applies to light switches as well.
When choosing a dimmer switch, you may want to look for features like intelligent dimming technology, soft start, intelligent overload protection, and an adjustable minimum brightness setting. A good quality dimmer switch will also come with a manufacturer’s warranty for your peace of mind.
Two-Way Dimmer Switch – Basics
A 2-way dimmer switch allows you to control your lights from two different locations, providing both safety and convenience. Instead of crossing a dark room to reach the switch, you can easily adjust the lighting from either location. This feature also increases the versatility of your lighting setup, allowing you to create various ambiances depending on your needs.
When you operate a two-way dimmer switch, an electrical signal is sent through the wires in your walls and ceiling fixtures, enabling seamless control. To use a 2-way dimmer switch, it must be connected to a secondary light switch, enabling you to control the light levels from both locations.
Wiring a two-way dimmer switch can be easily done by following specific steps. Keep in mind that the wiring process might differ slightly depending on whether you have a 2-wire or a 3-wire lighting system. Ensure that you have the correct dimmer switch and necessary equipment before starting the installation process.
It is essential to note that when using a 2-way dimmer switch, you may be required to use a slave dimmer or a compatible secondary switch to avoid issues with the functionality of the system. Always consult the product information to verify compatibility and check whether any additional components are required for optimal operation.
By understanding and applying the basics of two-way dimmer switches, you can enhance the functionality and ambiance of your lighting setup. Keep safety in mind and consult a professional electrician if you are unsure about the installation process.
Functions of a 2-Way Dimmer Switch
A 2-way dimmer switch allows you to control your lights from two different locations. This enhances safety and convenience, as you don’t have to traverse a dark room to access the switch. The operation of a 2-way dimmer switch involves sending an electrical signal via wires present in your walls and ceiling fixtures.
To set up a 2-way dimmer switch, connect it to a secondary light switch. This enables control of the lights from either location, using the dimmer functionality to adjust the brightness of the light source. Keep in mind that compatibility is essential in this arrangement. Some dimmer switches may require a specific “slave dimmer” for 2-way operation, rather than a standard switch.
Using a 2-way dimmer switch enables energy saving, as it allows you to adjust the light output according to your requirements. This can ultimately lead to a reduction in electricity consumption and lower energy bills. Additionally, dimmer switches can prolong the lifespan of your light bulbs by reducing the strain on the filament.
In conclusion, a 2-way dimmer switch provides enhanced control of your lighting setup by allowing operation from multiple locations. This upgrade brings safety, convenience, energy saving, and extended bulb life benefits.
Types of 2-Way Dimmer Switches
In this section, you will find information about various types of 2-way dimmer switches that can help enhance your lightning control experience. We’ll discuss three main types: Rotary, Slide, and Touch.
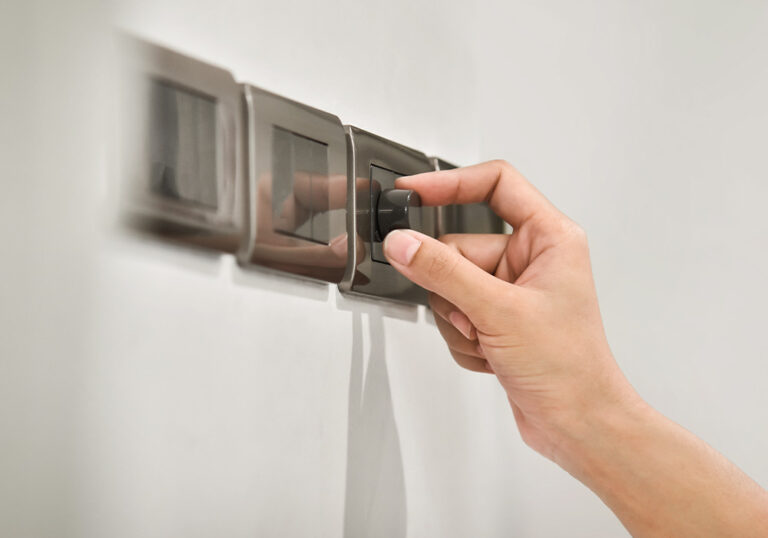
Rotary
A Rotary 2-way dimmer switch allows you to adjust the brightness of your lights by turning a knob clockwise or counterclockwise. These are a common and classic choice for many homes. The rotary dimmer switches are quite simple to use and provide a hands-on feel for controlling the lighting. Available in various designs, they can blend in seamlessly with your interior décor.
Slide
Slide 2-way dimmer switches offer an alternative to the rotary type, using a sliding mechanism that moves vertically or horizontally to control the light intensity. To increase or decrease the brightness, you simply slide the lever up or down along the track. Slide dimmer switches are visually appealing and can provide a modern touch to your interior setting.
Touch
Touch 2-way dimmer switches feature a touch-sensitive panel that allows for smooth and intuitive control of your lighting. With a simple touch of your finger, you can adjust the brightness levels of your lights. Some touch dimmer switches come with advanced features such as backlit and remote-controlled settings, making them a highly versatile and elegant addition to your home.
To sum up, Rotary, Slide, and Touch are the three main types of 2-way dimmer switches you can use in your home. Choose the one that best suits your preferences, lifestyle, and interior design aesthetic to maximize your comfort when it comes to light control and adjustment.
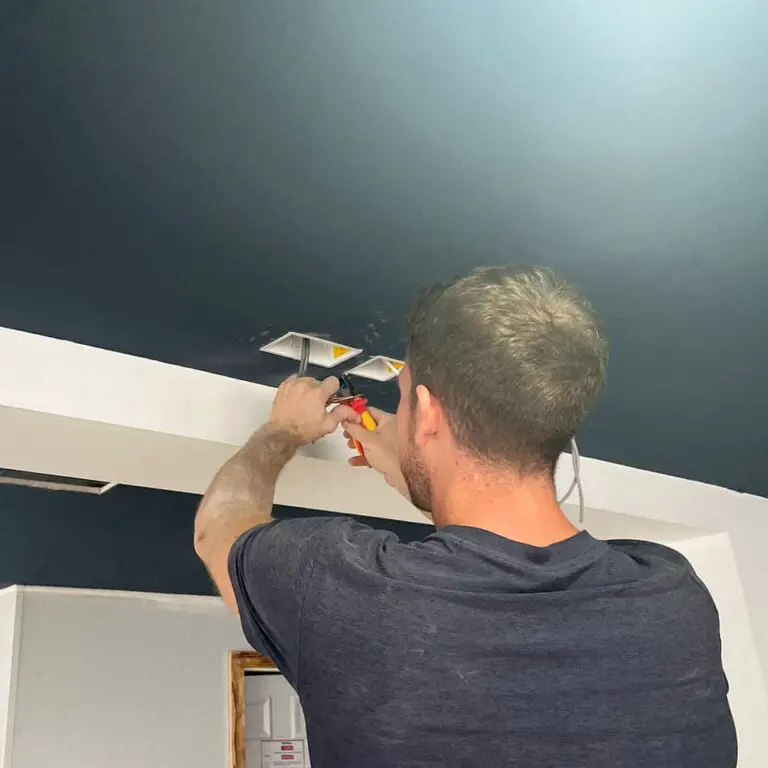
Installation Process of a 2-Way Dimmer Switch
Before starting the installation of a 2-way dimmer switch, gather the necessary tools and materials like a screwdriver, wire stripper, wire nuts, and masking tape for labelling wires. Remember, safety is of utmost importance – always turn off the power to the circuit you are working on at the main fuse box or circuit breaker panel.
Step 1: Begin by removing the faceplate from the existing switch to reveal the wires and connections. It’s helpful to take a photo of the current wiring to reference it later.
Step 2: Disconnect the wires from the existing switch. Be sure to label each wire with masking tape and a pen to keep track of which wire goes where.
Step 3: If your new dimmer switch has pre-installed wires, use a wire stripper to strip the ends.
Step 4: To connect the dimmer switch, begin with the ground wire (green/bare copper). Twist the ground wire from the dimmer switch with the ground wire from the electrical box. Secure them together with a wire nut.
Step 5: Now, connect the wires from the dimmer switch to the wires from the electrical box according to the manufacturer’s instructions. This should involve connecting one wire from the dimmer switch to each of the two wires from the existing switch.
Step 6: For a three-way switch, locate the wire tagged “common” and remove the electrical tape. Connect the black dimmer wire to the common wire.
Step 7: Once all the wires are connected, tighten a wire nut over each pair of wire ends. Ensure the connections are secure.
Step 8: Carefully push the wires back into the electrical box. Ensure the dimmer switch is in the correct orientation as per the manufacturer’s instructions.
Step 9: Fasten the dimmer switch to the electrical box using the provided screws.
Step 10: Replace the faceplate and turn the power back on at the main fuse box or circuit breaker panel. Test the newly installed 2-way dimmer switch by turning it on and off from each location, and check if the lights can be dimmed and brightened accordingly.
By following these steps, you should have successfully installed a 2-way dimmer switch that allows you to control the brightness of your lights from multiple locations.
Benefits of Using 2-Way Dimmer Switches
A 2-way dimmer switch, referred to as a 3-way dimmer switch in the US, allows you to connect a dimmer switch to a secondary light switch, enabling control of the lights from either location. This feature provides both safety and convenience, so you don’t have to cross a dark room to reach the switch.
Using a 2-way dimmer switch, you can easily create a suitable ambience in your space by controlling the brightness of the light output through altering the voltage waveform delivered to the bulb. By finding the perfect balance between brightness and darkness, you can create an environment that suits your mood or that of your guests. The ability to dim or brighten a room instantly is particularly useful when hosting a gathering or when transitioning from day to night.
Additionally, 2-way dimmer switches can contribute to energy savings in your home. By allowing you to adjust the brightness of your room to match the required light level, you can effectively reduce your energy consumption, which, in turn, contributes to lowering your energy bills over time. Some dimmer switches are even compatible with energy-efficient LED bulbs, further enhancing their cost-saving benefits.
Intelligent dimming technology, soft start, intelligent overload protection, and adjustable minimum brightness settings are just a few of the advanced features that may be available with certain 2-way dimmer switch models. These enhancements not only improve the user experience but also provide more precise control over your lighting environment.
In summary, using a 2-way dimmer switch offers you the ability to conveniently control your lighting, create an inviting atmosphere, and save on energy costs, making it a worthwhile addition to your home.
Safety Considerations for 2-Way Dimmer Switches
When installing and using 2-way dimmer switches, it’s crucial to prioritize safety. A 2-way dimmer switch (often called a 3-way dimmer switch in the US) connects a dimmer switch to a secondary light switch, allowing you to control the light levels from either location. This design ensures you don’t have to cross a dark room to access the switch, making it convenient and safer.
First, always consult a qualified electrician if you’re unsure about any aspects of installing a 2-way dimmer switch. Mistakes in installation can lead to electrical fires, short circuits, or shock hazards.
Next, be aware that when using a 2-way dimmer switch in a circuit, only one dimmer switch should be paired with a standard push-on/push-off switch at the other end. This configuration helps maintain proper functioning and avoids potential issues with electrical flow.
Moreover, pay attention to compatibility requirements between dimmer switches and lights. To avoid potential flickering, buzzing, or other issues, ensure your dimmer switch is compatible with the bulb types you’re using, such as LED, CFL, or incandescent.
Finally, familiarise yourself with the proper wiring diagrams for 1-way and 2-way circuits before attempting installation. This knowledge will help you connect the wiring safely and accurately, minimising risk during the process.
Comparing 2-Way and 3-Way Dimmer Switches
A 2-way dimmer switch, also known as a 3-way dimmer switch in the US, allows you to connect a dimmer switch to a secondary light switch, enabling you to control the lights from either switch. This feature is designed for safety and convenience, so you don’t have to cross a dark room to reach the switch.
In contrast, a 3-way dimmer switch, sometimes referred to as a 2-wire dimmer, has two electric wires: the phase conductor from the grid and the switching wire to the lamp or light fitting. This type of dimmer is typically installed in homes built before 1991 or during renovation projects, as older homes often have flush-mounting boxes with only two electric wires.
When choosing between these two types of dimmer switches, consider the electrical wiring in your home and your specific lighting needs. A 2-way dimmer switch might be ideal if you have multiple access points for controlling the lights in a room, as you can adjust the brightness from either switch location. However, if your home is older, you might need a 3-way dimmer switch to accommodate the existing wiring.
Installing a dimmer switch typically involves turning off the circuit breaker, removing the old switch, connecting the new dimmer switch wires, and then testing the switch for proper functionality. Remember to exercise caution and consult a professional electrician if you’re unsure about any aspect of the installation process.
Choosing the Right 2-Way Dimmer Switch
When selecting a 2-way dimmer switch to replace your existing switches, it’s essential to consider compatibility, practicality, and design. Follow these guidelines to make an informed decision:
- Compatibility: Make sure the dimmer switch is compatible with the type of bulbs and lighting circuits in your home. There are two main types of dimmer switches: leading-edge dimmers and trailing-edge dimmers. Leading-edge dimmers are often used with incandescent and halogen light bulbs. In contrast, trailing-edge dimmers work well with electronic low-voltage transformers that have primary circuit capacitive loads. Ensure you choose the right one to avoid flickering or poor performance.
- Programmability: Look for dimmer switches with features like smart technology, adjustable brightness settings, and soft start. These options will enable you to fine-tune your lighting preferences and ensure the perfect atmosphere in your living spaces.
- Design: The design of the dimmer switch should fit seamlessly with your home’s overall aesthetic. Choose a suitable size and colour that complements your décor. Dimmer switches are commonly available in 85 x 85mm size, with colour options such as white, black, or stainless steel finishes.
- Installation: If you’re confident in your DIY skills, you may be able to replace a 2-way light switch with a 2-way dimmer switch. Both the existing switches and new dimmers should have L1, L2, and a common terminal (represented by a squiggle symbol). However, if you’re unsure about the installation process, it’s always best to consult with a qualified electrician.
By carefully considering the above factors when purchasing a 2-way dimmer switch, you can ensure the ideal lighting solution for your home. Remember to double-check compatibility and consult an electrician for a safe and efficient installation.